well, need to sort out the spoiler/boot pictures, but joy of joys, I've done some work on the old girl!
Firstly, I had ordered a new screen from Pilkington, so before that goes in, need the headlining in. It's the original and apart from some repairs to the stitched seams, it was in great condition, so in it went.
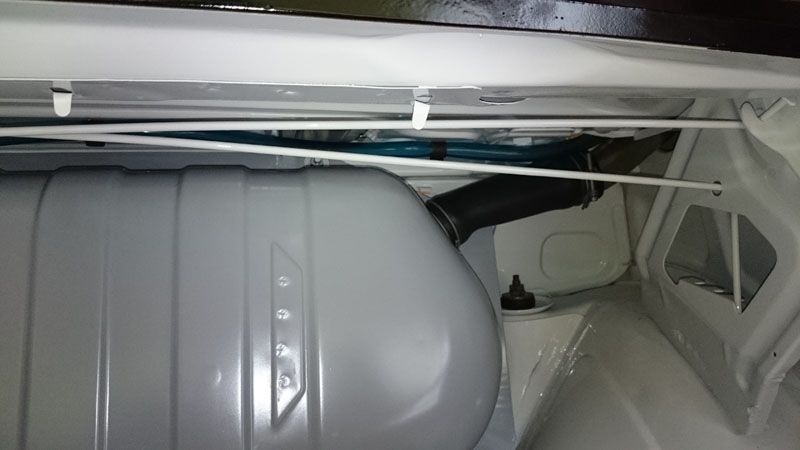
But, before that happens, the fuel tank has to go in as there is a vent arrangement that goes into the C pillar, under the headlining...so in that goes, along with some new vent hoses that Gareth Beynon kindly sourced from the US of A
Onto the headlining, one of the issues I had was that some of the rods that support the headlining had oxidised and so did not allow the headlining to slide/rotate on them, leading to some unevenness of how the seams going across the headlining settled. This involved quite a lot in and out / up and down action until I was satisfied, so I can see how people dread his job. It can be very time consuming, but overall, happy with how it's come out.
Being a black headlining, not so easy to photograph...
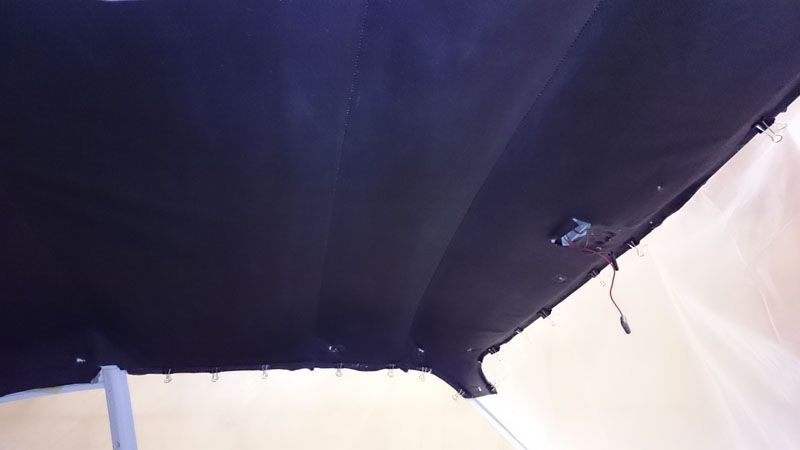
Attaching the grab handles in the roof also helped tighten things up.
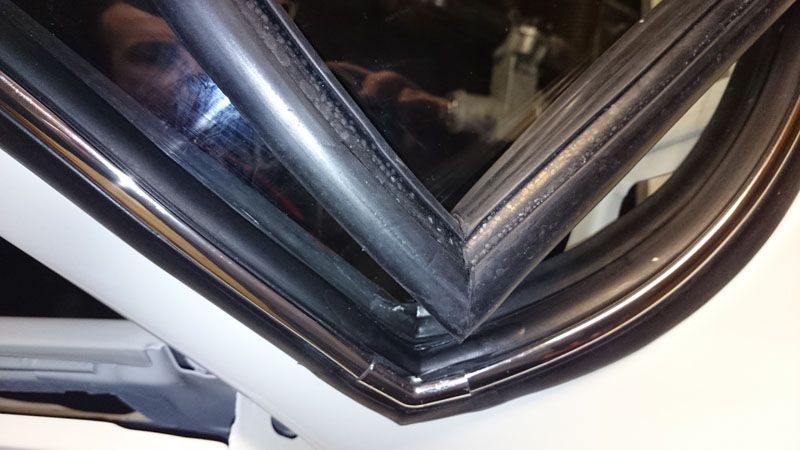
I purchased my screen seals from Australia, but also compared these with one I bough from COH Baines. While the Baines one would have fitted, the corner angle was 90 degrees, so not quite as goo as the more like 120 degrees of the Australian version, which also matched the chromed corner pieces for the screen.
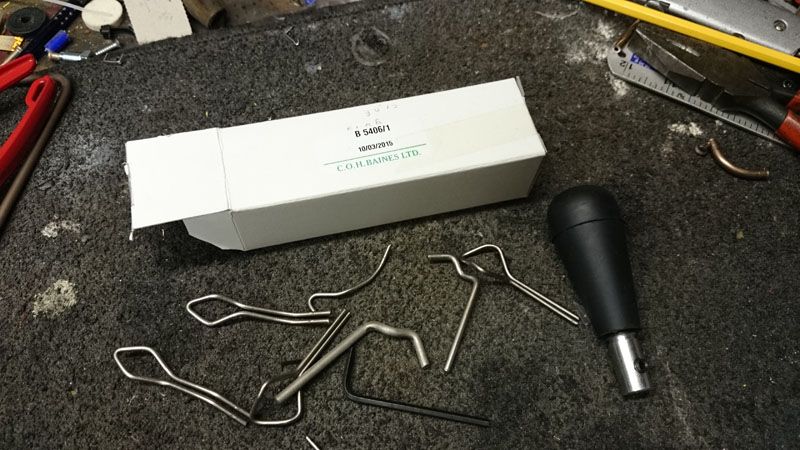
The tool kit I bought from COH Baines was very helpful in putting the screen in and the chrome infill. At £16.50 plus VAT made the whole job possible
while I used cord to string the screens in once I'd used the Bains tools to get things started. I've used much thicker before, but since I had this lying around, I tried it out and seemed to work well:
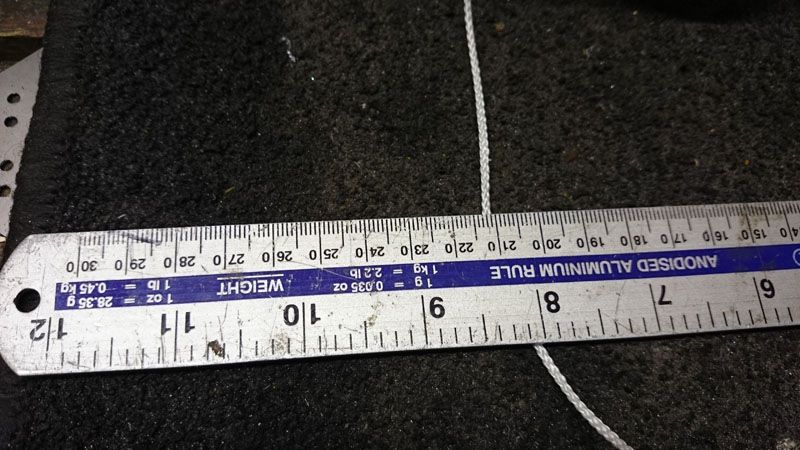
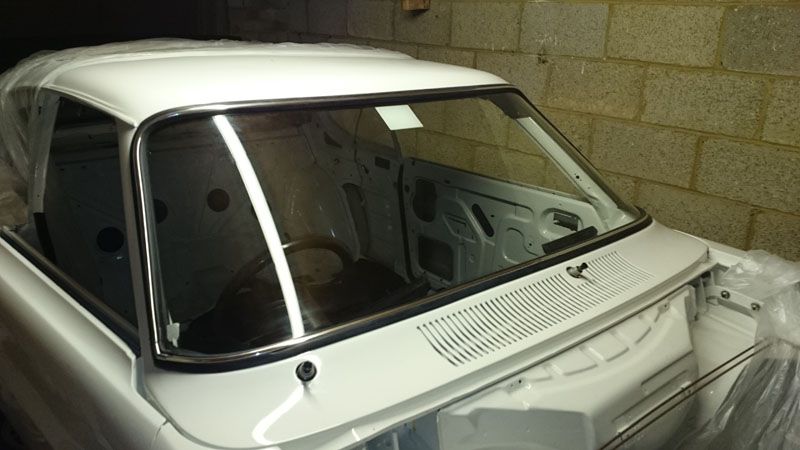
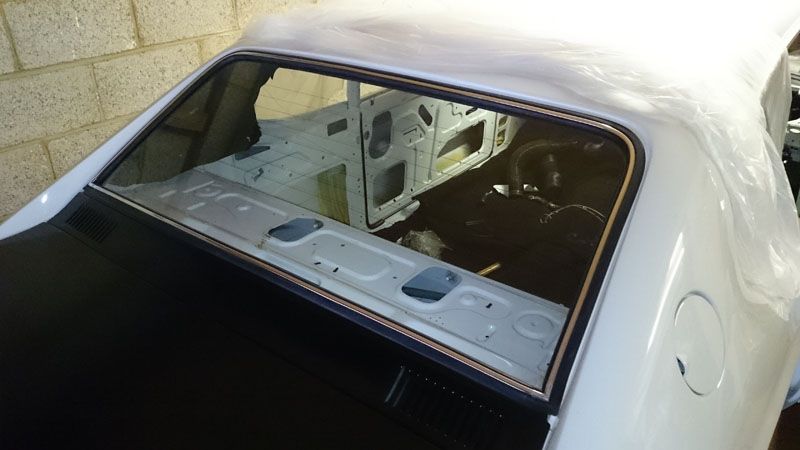
so finally, screens in:
I then started to look at brake lines, as I really wanted my lines to be nice and neat. The whole process is very time consuming, and even using the lines on the car as patterns, mine still needed some tweaking to improve the fit or just fall in line with my ideas of neatness...involving in some cases several iterations of some sections....or I would make a whole section up and screw it up at the last curve!
My tools of choice:
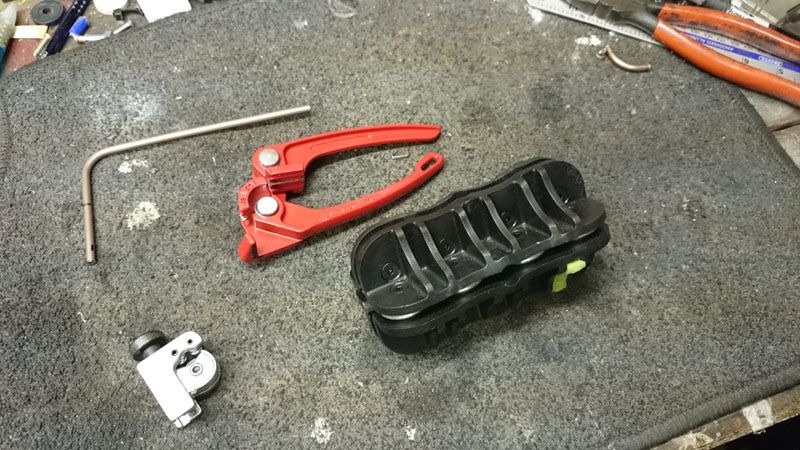
and for bigger curves:
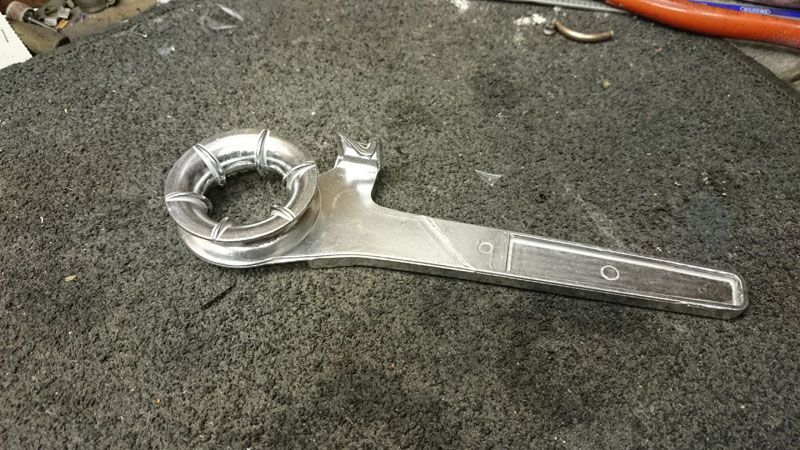
really for much larger pipe, but with a little ingenuity, worked well. I had this on a vice, on a work bench outside, as my first curve in one pipe was to be at the end of approximately 2M section, so not enough room in the workshop to swing around such a length of pipe!
The pipe straightener was a great tool though:
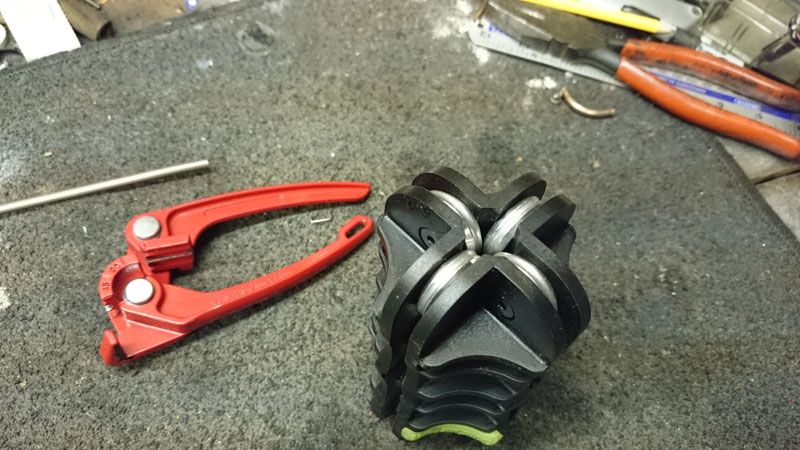
This is great for straightening pipe off the coil, but it won't completely straighten pipes once you have put bends in...they still look a little uneven and I'm guessing will probably never straighten out fully again.....ask me how I know..
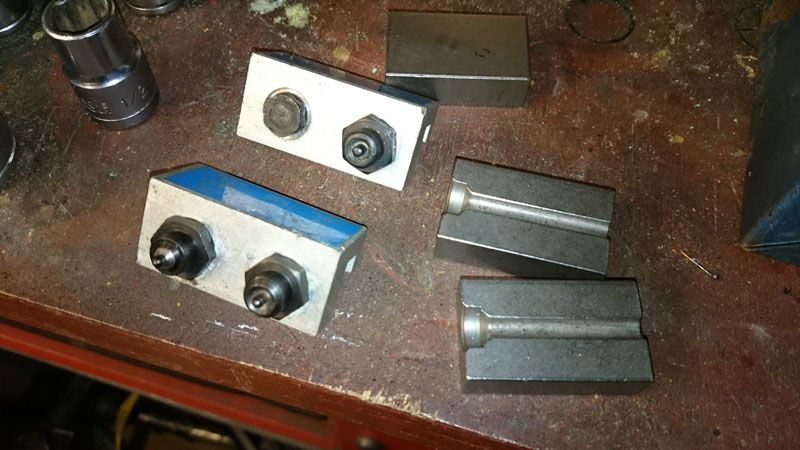
Here is my 'previously enjoyed' sykes pickavant flaring tool. Very easy to use, but the one negative here is that the length of the dies means that you have to flare your ends and get your fitting in place before you put in beds that are close to the fitting...which was the case in most of my pipe runs.
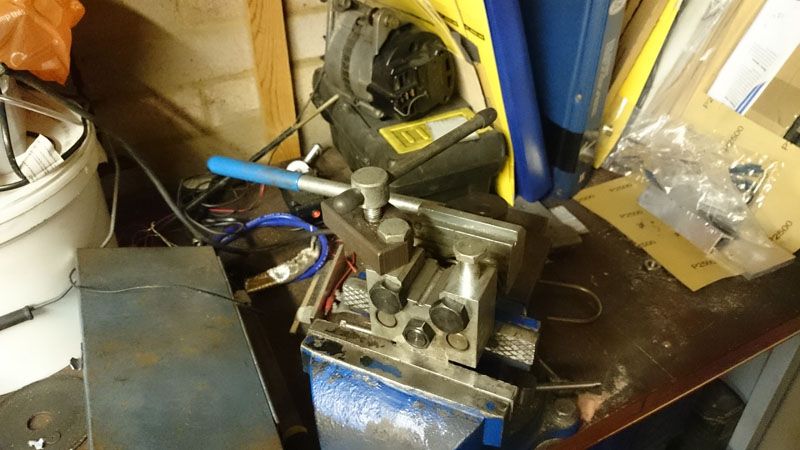
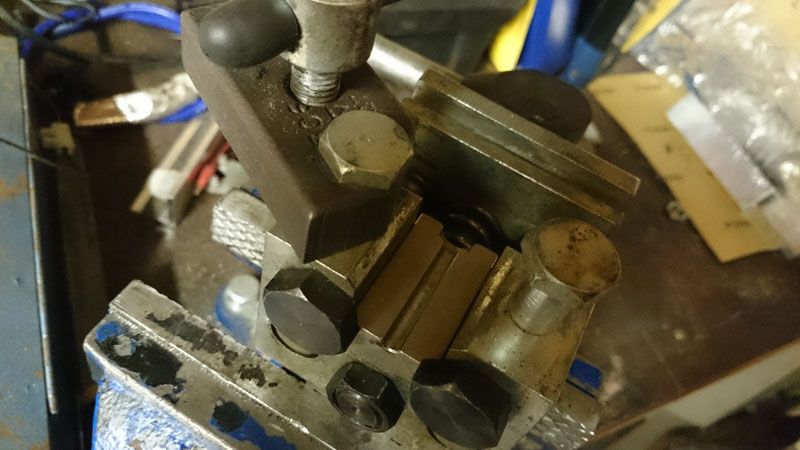
But all the dies can be bought separately, as one of mine had a nasty dink in it that would have effected the flare.
The Mk 1 capri uses a single line system, so you have a line running from the master cylinder to a 4 way piece on the passenger side, and then then three lines go to the two fronts and the rear, so some fairly long runs of line required, and all had to line up at the rear of the engine bay.
so drivers and passenger side done, but once the drivers side was done, was not so happy with the passenger side, so decided to remake that to more match the drivers side. Probably way too neat for what was done originally, but I like my lines like this:
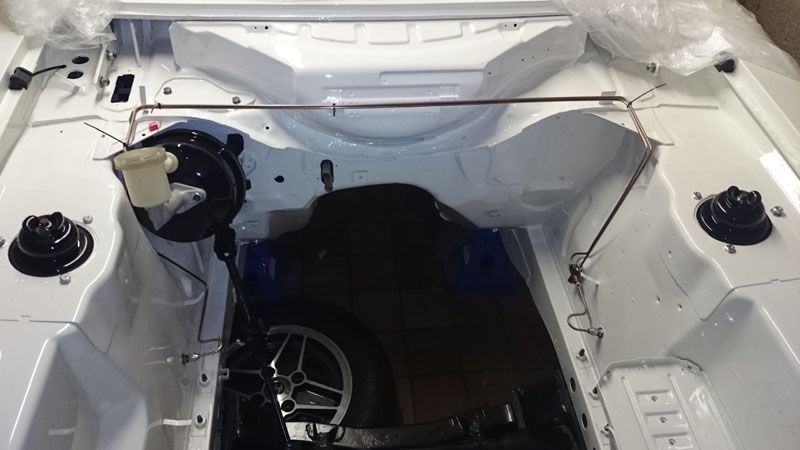
drivers side:
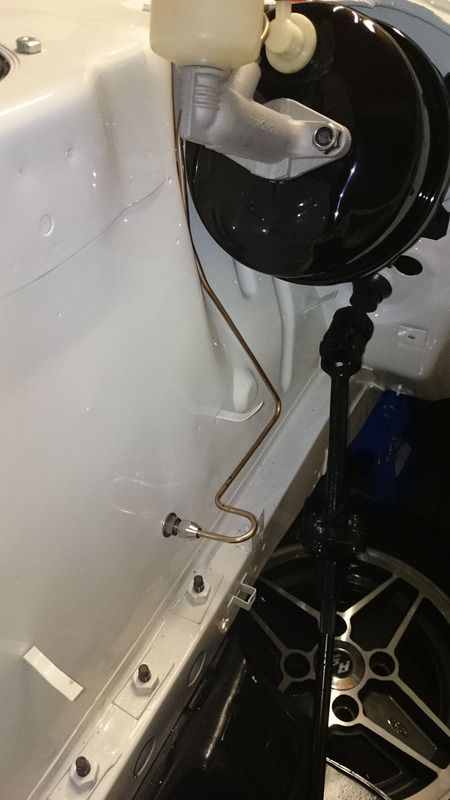
passenger side now matches:
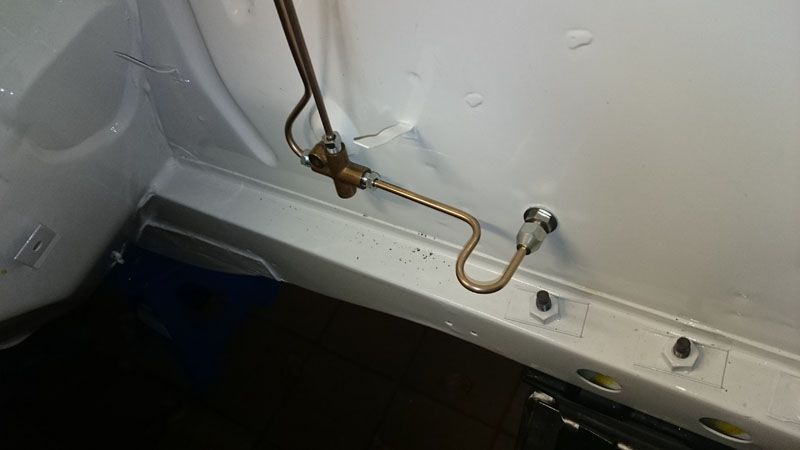
all the engine bay lines now done, just need to clip them in place along the bulkhead and the brakets at each corner of the engine bay
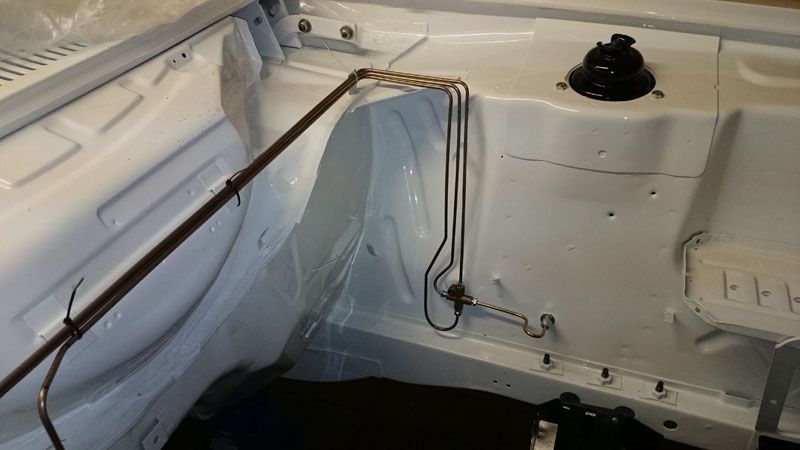
and the third line now going to the tunnel for connection to the rear
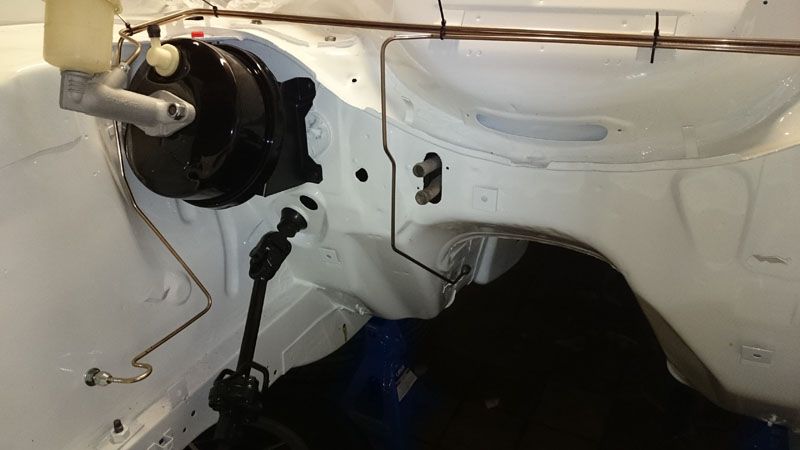
I still have enough pipe to do the rear axle line, but not a single long enough length to do the front to rear section, so more pipe required, while my pile of twisted, wasted pipe gets bigger. Still pretty happy with these.
the master cylinder doesn't have the correct angle of reservoir, but a new one will be going on.
Hopefully more regular updates now!