|
|
Post by johnmc67 on Feb 7, 2013 12:24:45 GMT
thanks vernon .your car looking good ,ive not done much on mine recently ,but im at home cleaning wiring loom up for engine bay today ,i will get cracking away soon as weather warms up ,ps managed to buy a couple of new old stock fomoco dizzys mate so im now sorted for one mate cheers for offer of yours ,best regards john
|
|
|
|
Post by vernon240 on Feb 8, 2013 10:20:59 GMT
Thanks John.Good news on the Dizzys, they are getting harder to find these days!
I really have to get moving on the engine of my car. It's not cold in the garage, so I don't have much excuse...just have to find the motivation! I have time, but before I know it, I'll be short of time!...better get moving!
|
|
|
|
Post by vernon240 on Apr 24, 2013 14:34:10 GMT
Just received another update as there was a break in proceedings due to other priorities in the restore a ford business. Passenger side strut top. The top strenthener plate revealed an issue underneath, so this needs cutting out.. 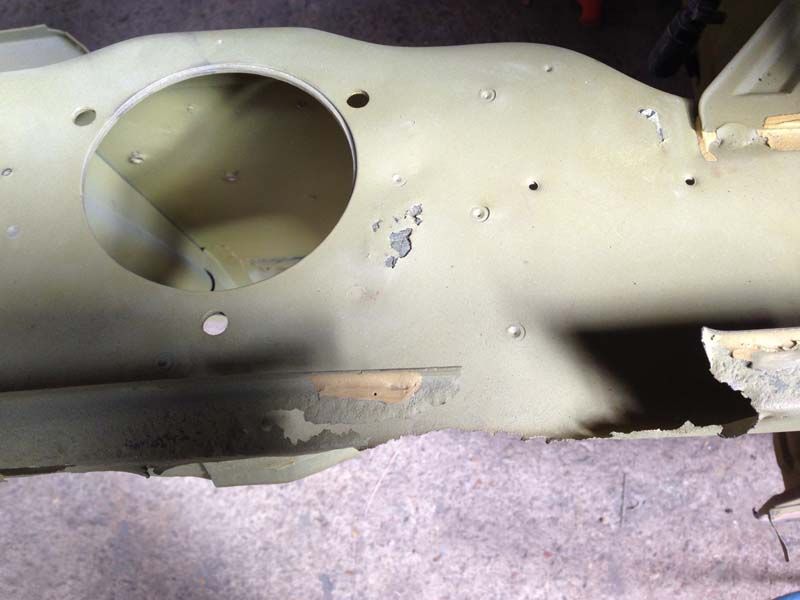 so this was cut out, all the rust you can see was removed, weld through primer applied and a new plate butt welded into place. Stuart does his repairs like this as they create an invisible repair and leaves no place for rust to hide as can happen if lapped repairs are carried out. 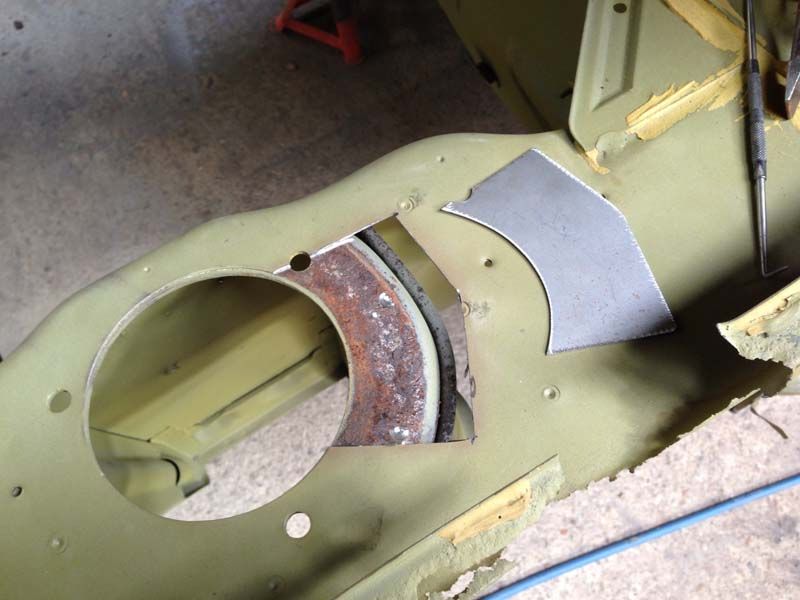 and the repair in place 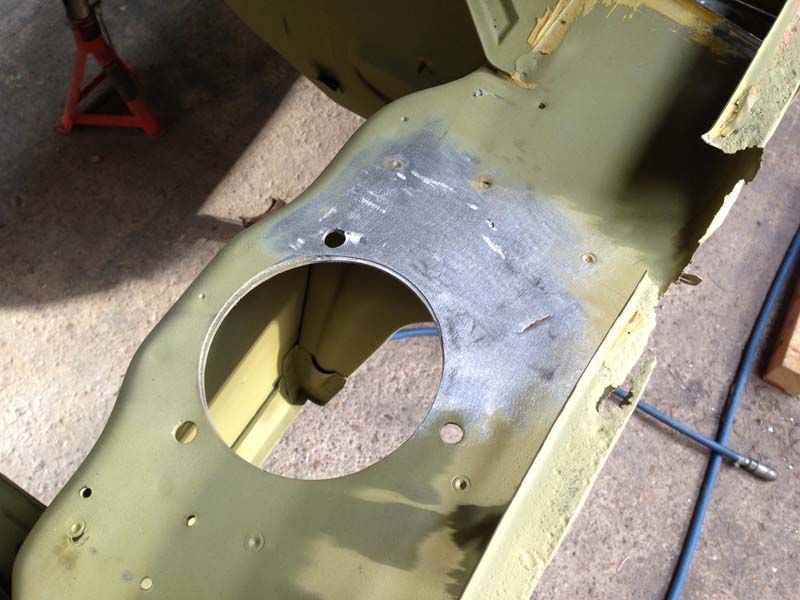 Here you can see thatt the inner wing stiffener has lifted (the battery tray is on the other side of this) and as ever has created a rust trap. Quite a common capri issue. 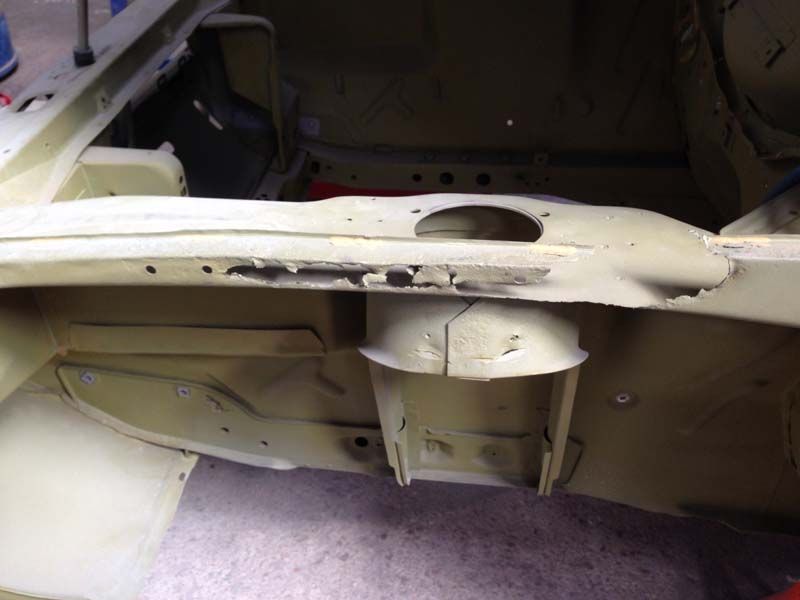 so off it comes. Oh dear... 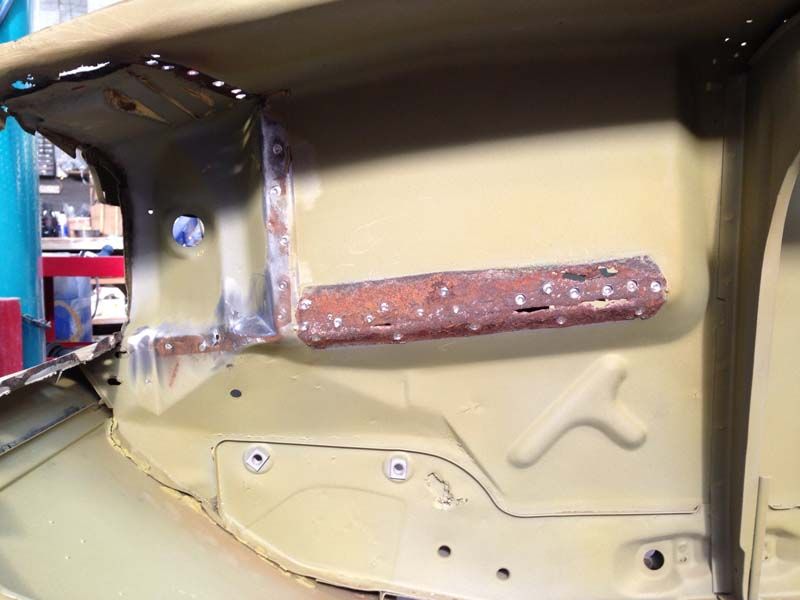 Hmm, this won't be going back on then! 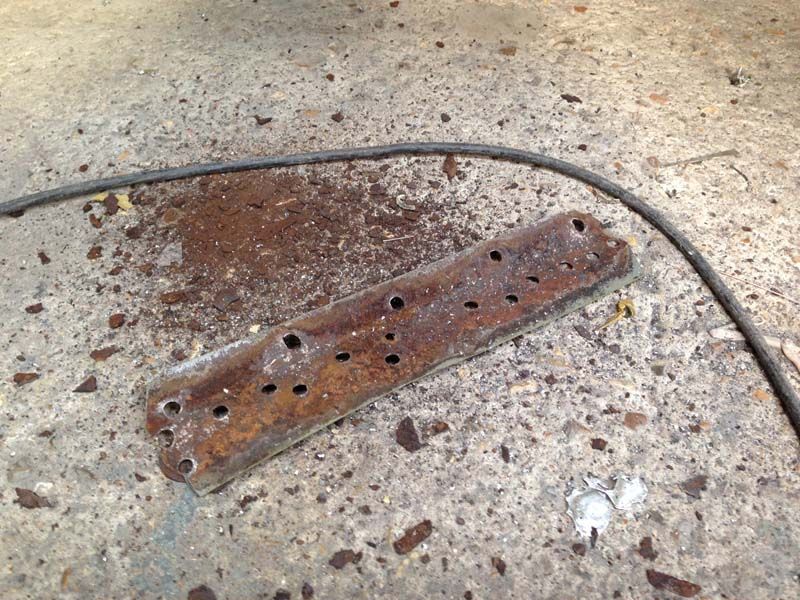 From inside the engine bay with the battery tray removed. There is another repair near the chassis rail. This will be sorted out soon as well. 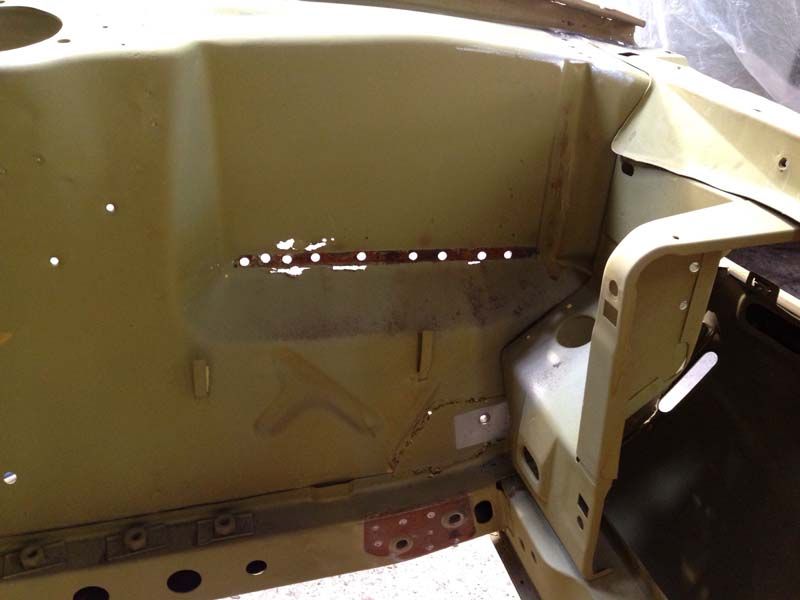 So the whole section is cut out. You can also see that the reinforcing section below needs attention. the other side of the patch you can see in the previous photo... 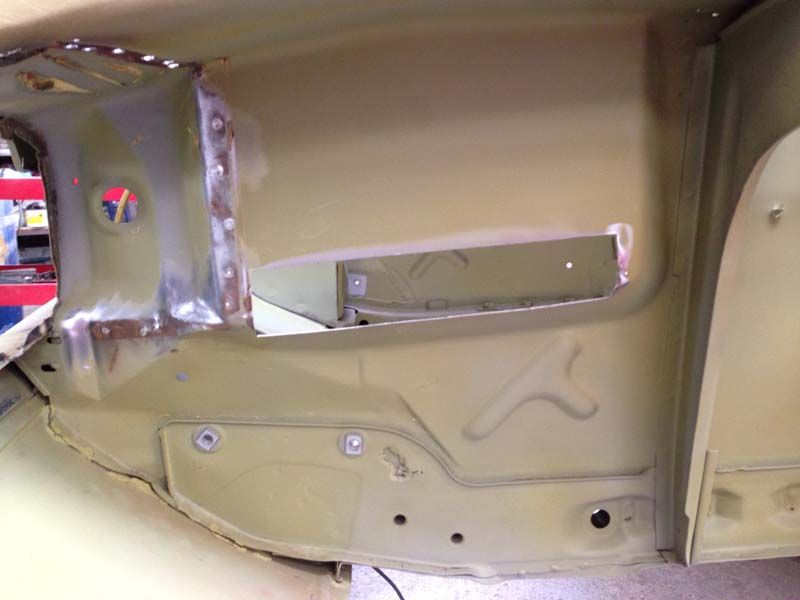 A new section is made up and welded into place... 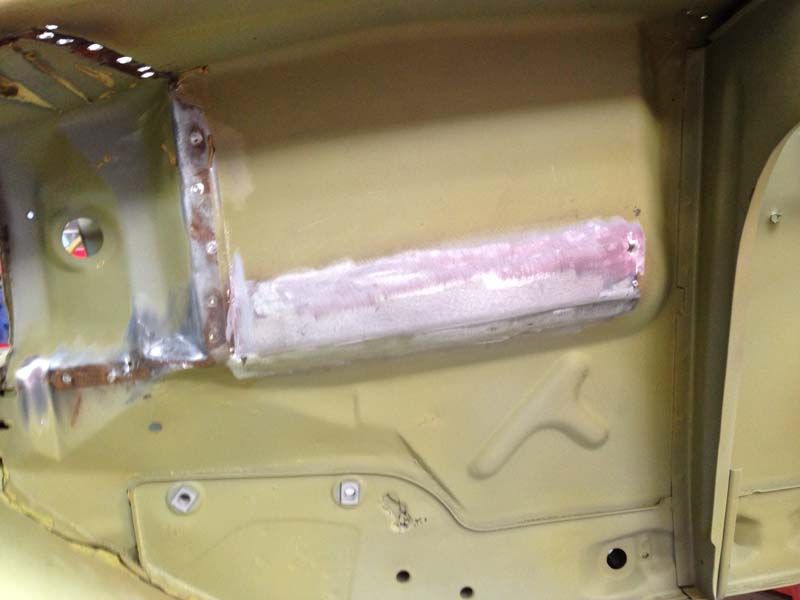 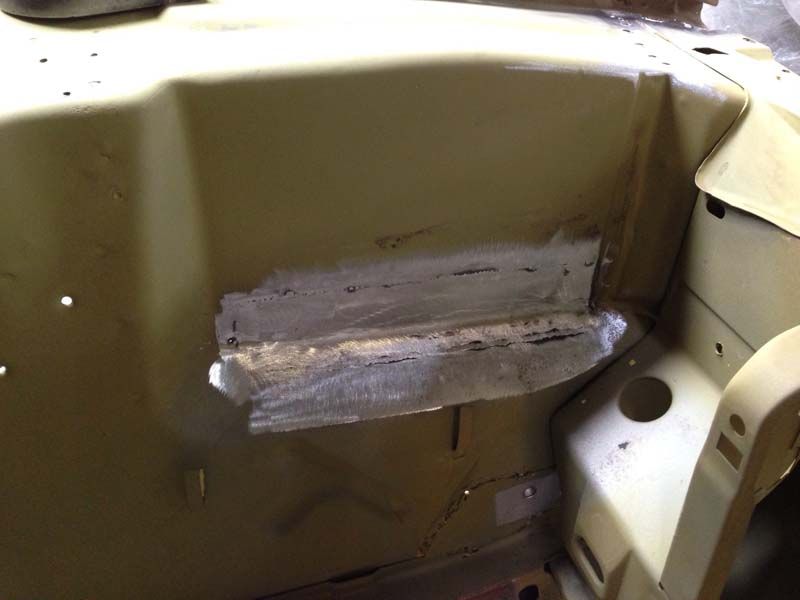 and a new strengthener made up to match the original panel. This will be plug welded into place, with the welds matching the placing of the original welds 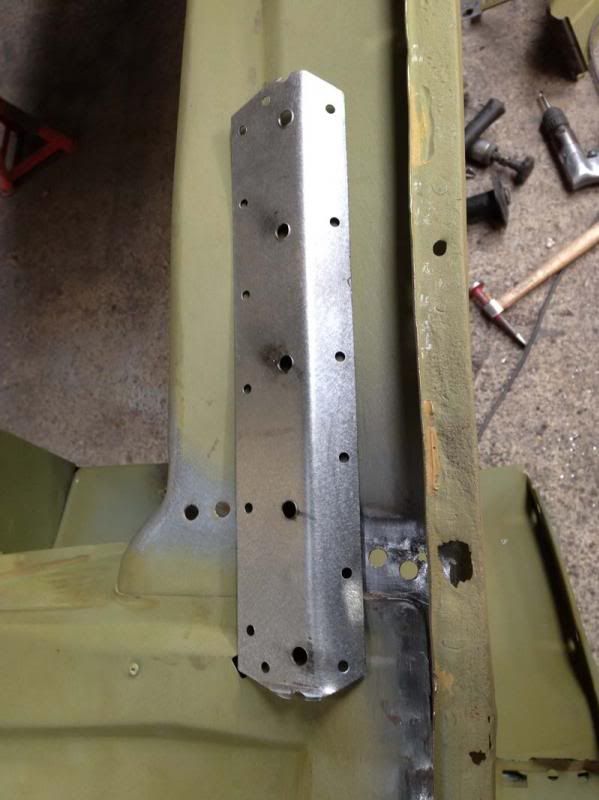 strengthener in place 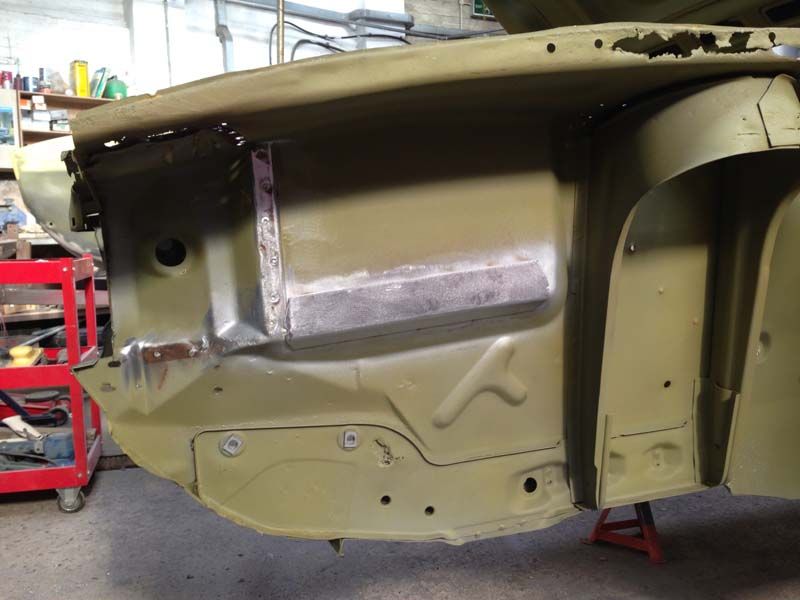 Now that section of the inner wing to chassis section is cut off... 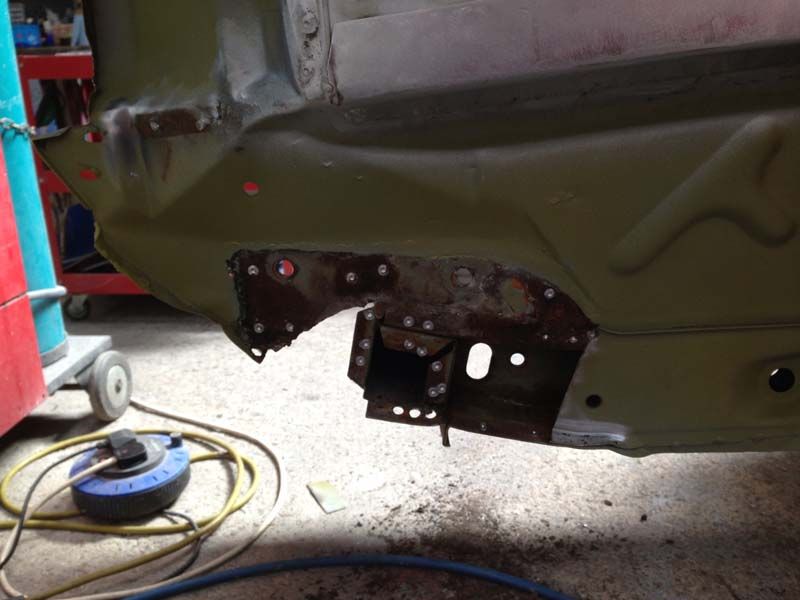 inside the section of chassis and it really is in great condition in there! 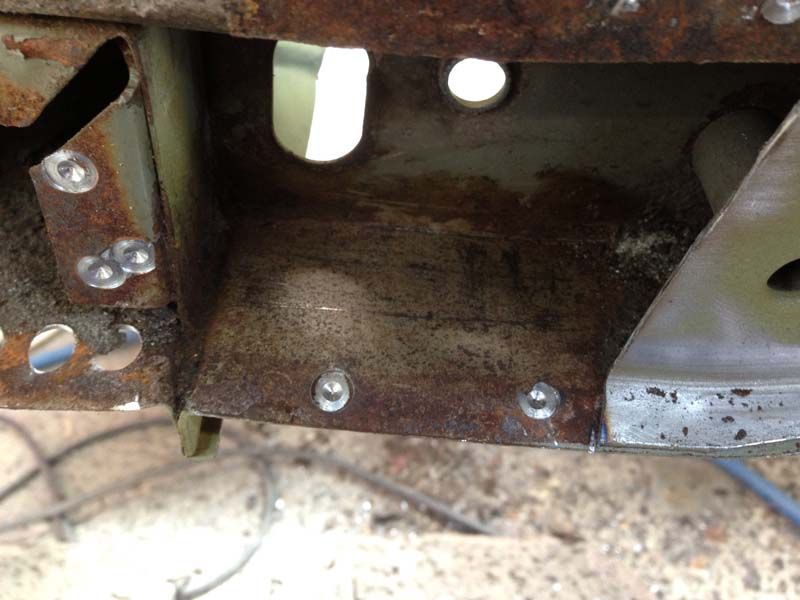 The front valance/panel and front box section has been removed. The front panel will be going back on, as it's in great condition, not to mention new ones going for £500 plus! 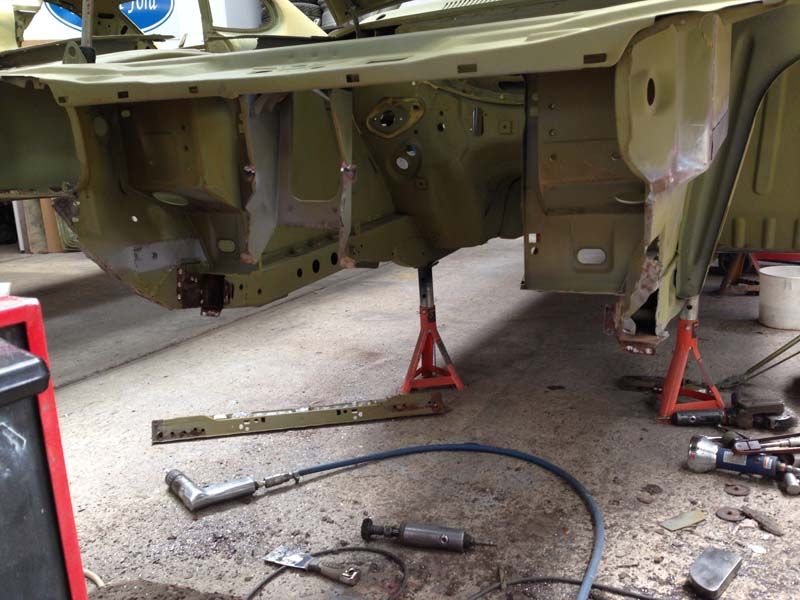 New half of the cross member in place. It's all primed and sealed, just as Ford would have done. Had they had been bothered! :lol: 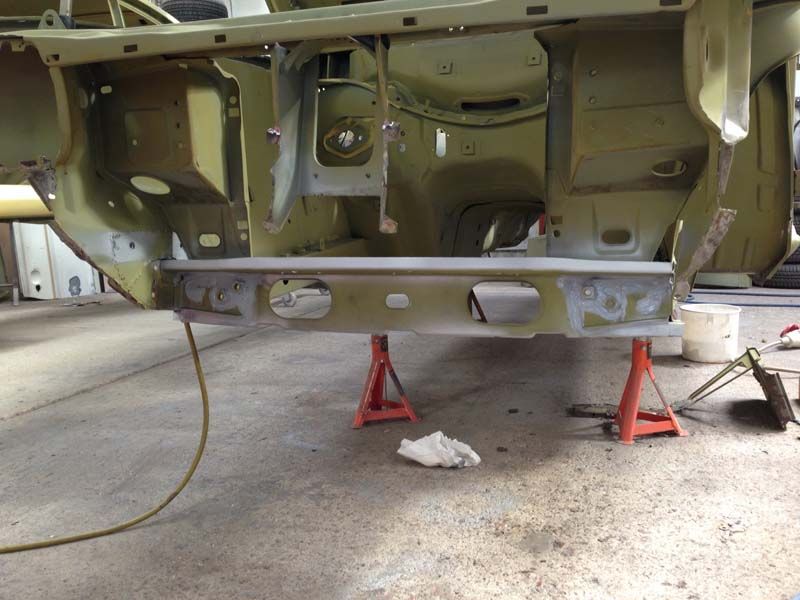 This shows the new fromnt half of the cross me,ber in place. It's not welded to the drivers side inner wing just yet, as we are look at replacing the inner wing on that side, as it's quite a bit worse than the passenger side. 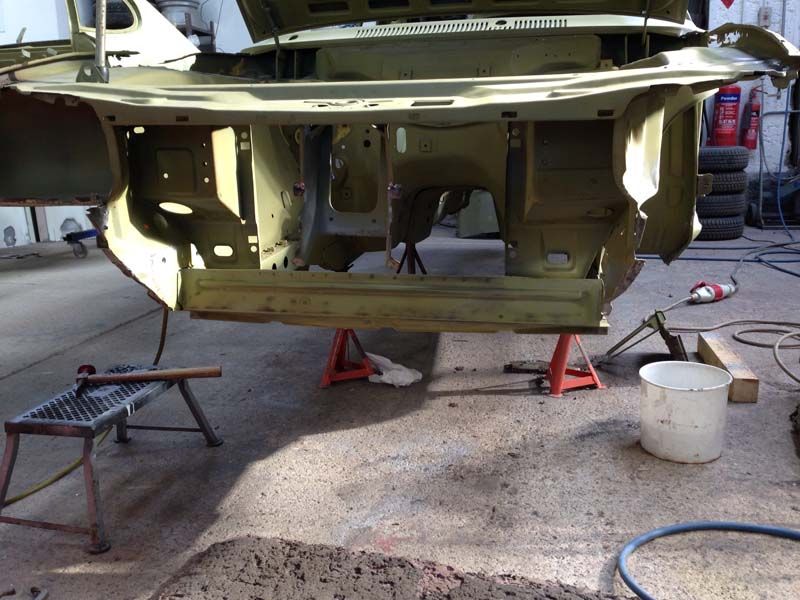 Cross member spot welded in place. That's all so far, but I'll be delivering an inner wing down to Stuart soon, plus some other bits and pieces. Extremely happy with progress and with the quality of Stuarts workmanship. As ever, it's all top notch and I can't wait to see further progress! |
|
boz
Full Member
  
Posts: 173
|
Post by boz on Apr 24, 2013 15:39:32 GMT
Yeah, sorry about the 'other priorities' but I need to drive my car soon. Yours is looking good Vernon, still nothing major in respects of rot. What colour are you going to go for? I know where there is some spare Fast Orange.  Soda blasting really does revel the areas that would sometimes be missed on a restoration. I know its expensive to get a shell blasted but at least in 20 years time it will still be perfect. Mine should be out of the way soon so he can get on with yours. Phil |
|
|
|
Post by djr400 on Apr 24, 2013 23:28:00 GMT
Looks fantastic - you know what is happening in every nook + cranny.
Love Stuart's work....
|
|
|
|
Post by aussiecapri on Apr 26, 2013 14:36:33 GMT
Looking good Vernon.. You know its getting done right, If it turns out anything like the MK2 it's going to be stunning...Tell stu and deb to up date their website as its a hard to keep up whats happening on the other side of the world  Owen |
|
|
|
Post by vernon240 on Apr 28, 2013 12:33:48 GMT
Thanks Owen, it should be better than the Mk2!....that's the aim anyway! I'll mention the website to Stu....not sure if that's the top of his prioraties at the moment!
|
|
|
|
Post by vernon240 on May 2, 2013 16:51:28 GMT
I visited Stuart yesterday to deliver a NOS inner wing for the drivers side, as I had the panel and this will be the best way forward, given the drivers side is far worse than the passenger side. Rebuilding the top rear section of the inner wing where it meets the scuttle area 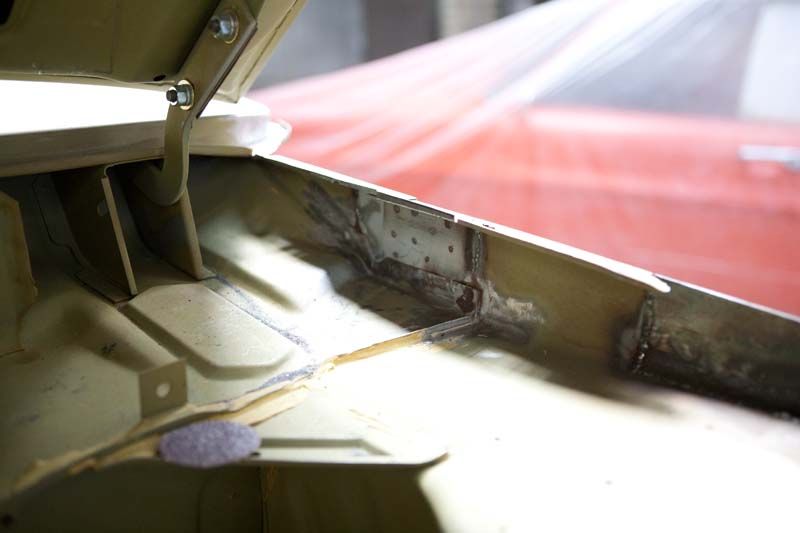 and further along on the inner wing up to the soon to be wing hanging rail. 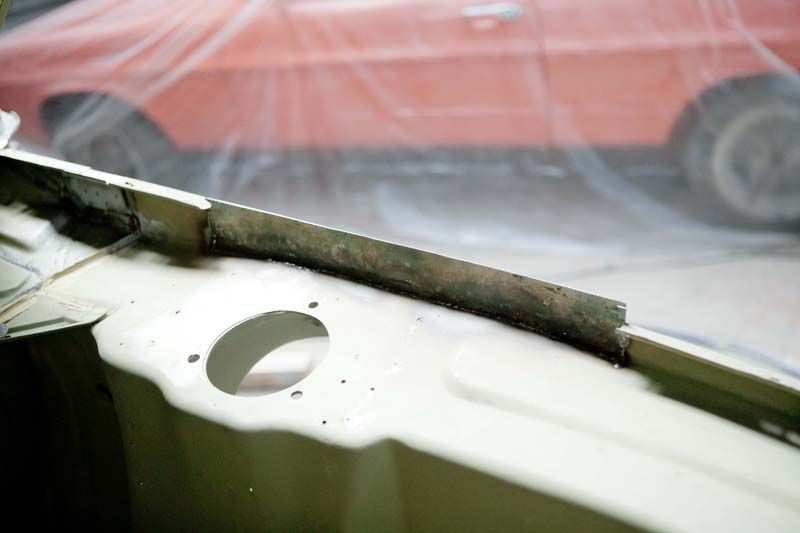 New battery tray and tray support in. 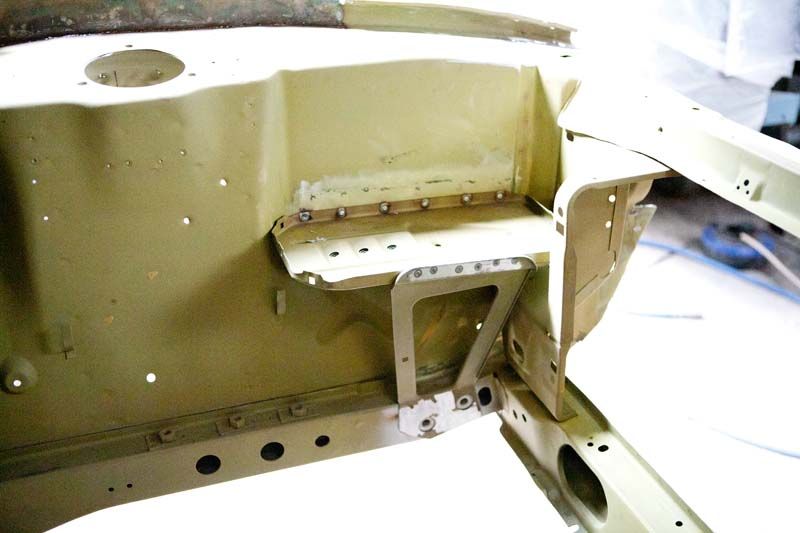 Another area repairer where the scuttle ends curve around and go vertically down. You can just see the welds at the bottom of the vertical part where it meets the spot welded seam. And of course, another small section to repair :roll: 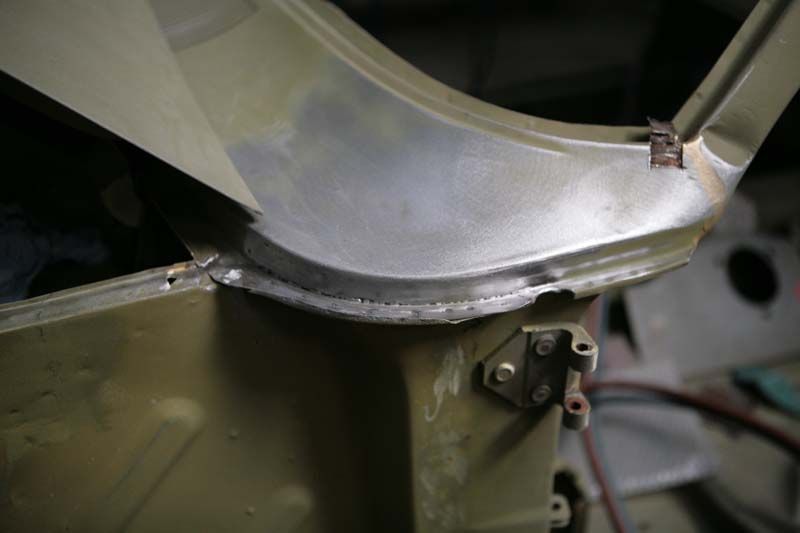 The passenger arch cut out, so this and the area where the rear quarter joins the sill will be replaced. The outer wheel house will have to be repaired first, however. 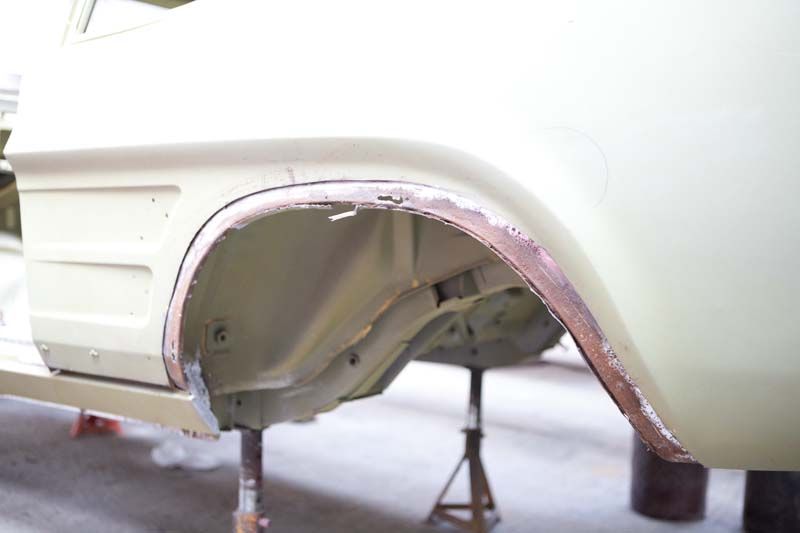 Bottom of the inner wing now all repaired. This reinforcing section was cut off (see pictures in the previous post) and separated from the panel behind (what was left of it) and repaired. The panel behind all repaired with new metal and the reinforcing section re-welded back to the car to create a seamless repair. It's this sort of thing that makes Restore a fords work top notch in my eyes. 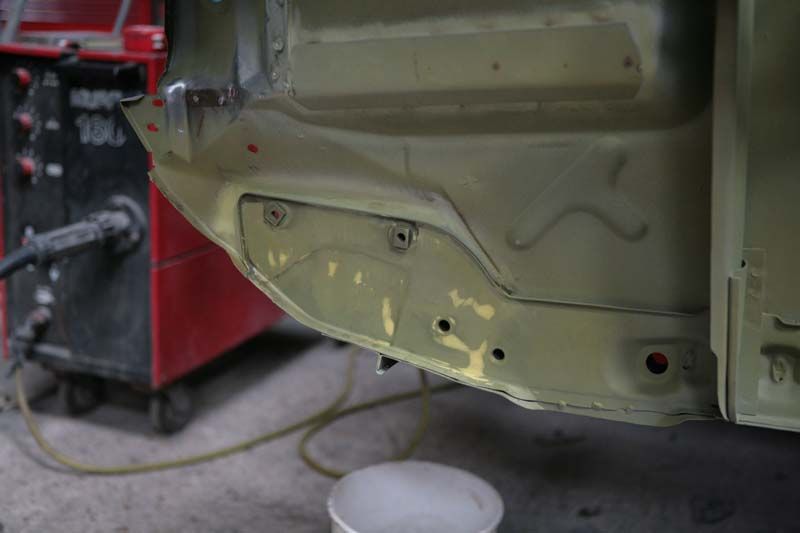 Driver side inner wing shows a very similar patch as we found on the passenger side. Due to many other issues with this panel, the whole inner wing will be replaced on this side. It's just far more economic. 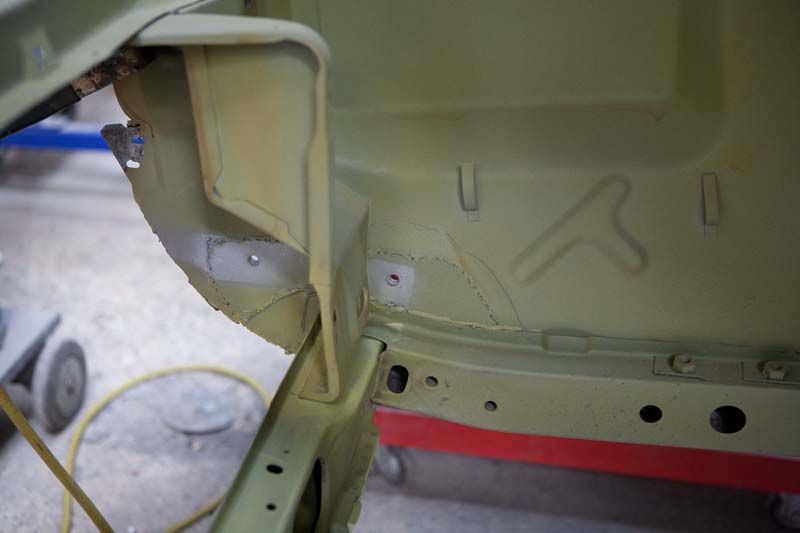 Just one of the areas that means the inner wing will be replaced. If it was just this area, it would be repaired, but there are a lot of issues dotted around the wing, so while I'm all for keeping as much as the original shell as possible, this just made sense as I'd picked up a new panel recently. 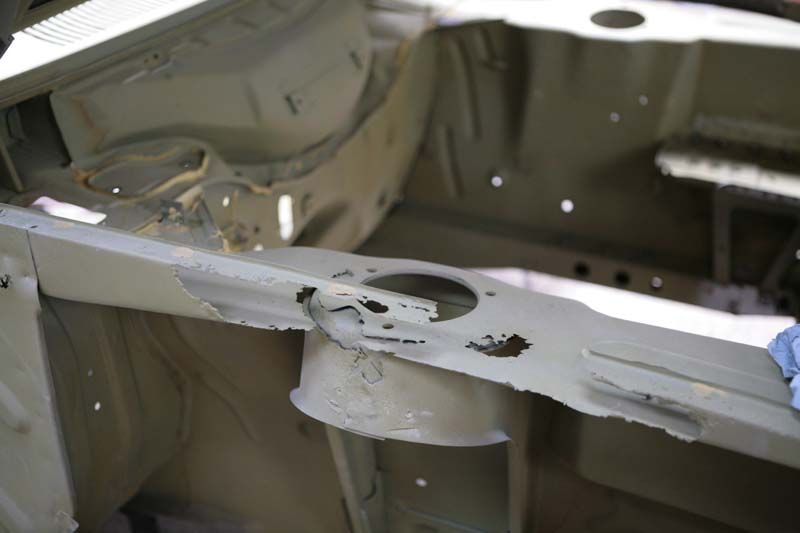 Another area to be repaired, along with replacing the wing hanging rail. This was full of lead. 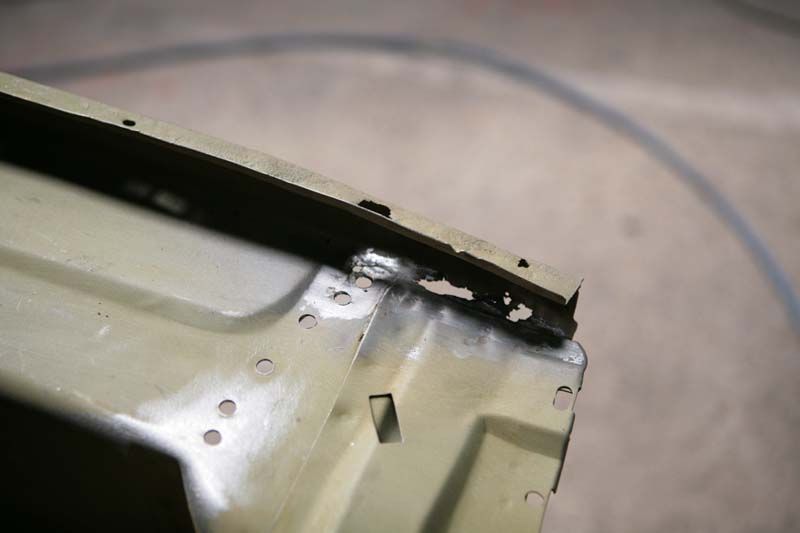 I'll see more updates soon, so very happy with progress! |
|
|
|
Post by johnmc67 on May 3, 2013 19:14:40 GMT
great progress vernon , makes sense replacing inner wing mate especially if you got a new panel will be far neater job ,keep pictures coming ,mine not progressed much as when bolting on bits i dont think they are good enough and keep taking them back off until i can find better ,so wont be at combe in that car but will come in another one all being well ,
|
|
|
|
Post by vernon240 on May 9, 2013 11:13:32 GMT
Another small update. the inner wing near the slam panel now repaired, just needs dressing, while the new headlamp bowl has also been spot welded into place 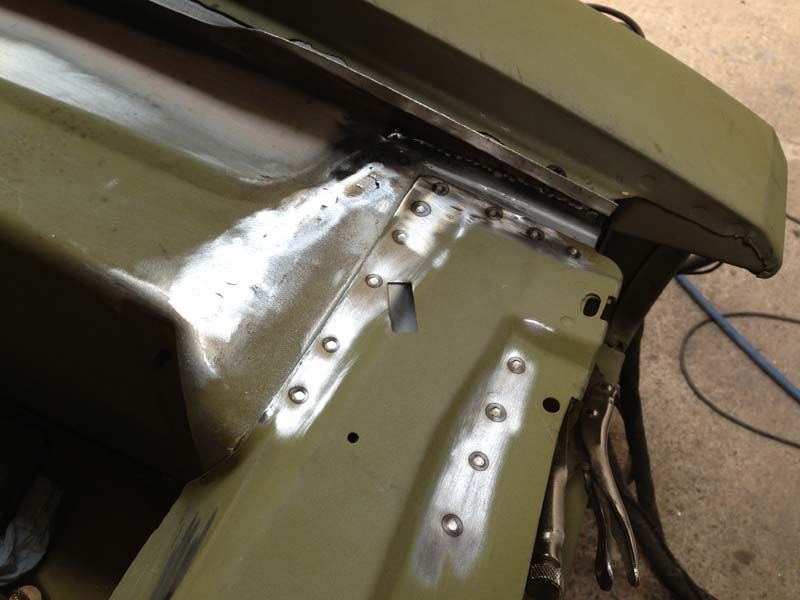 Slam panel spot welded into place to the central supports 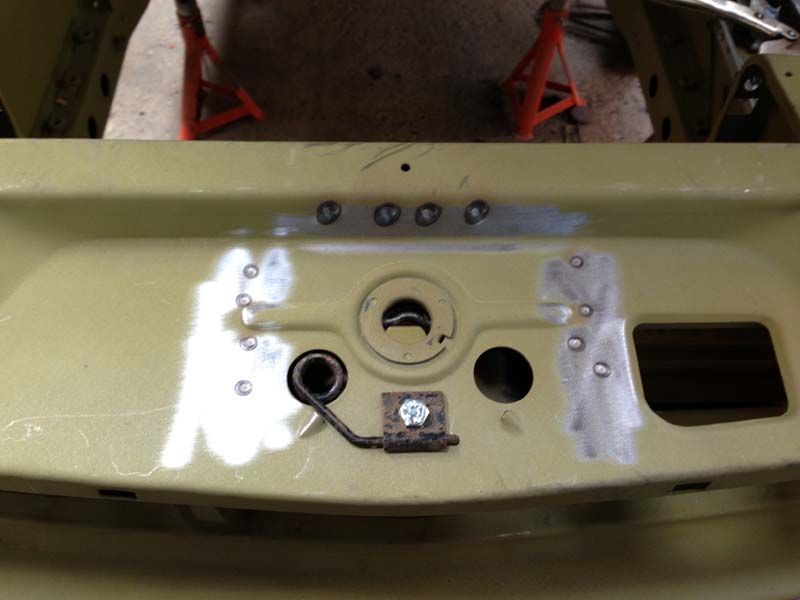 Wing and front panel screwed in pace to test for fitting before Stuart gets the spot welder out. 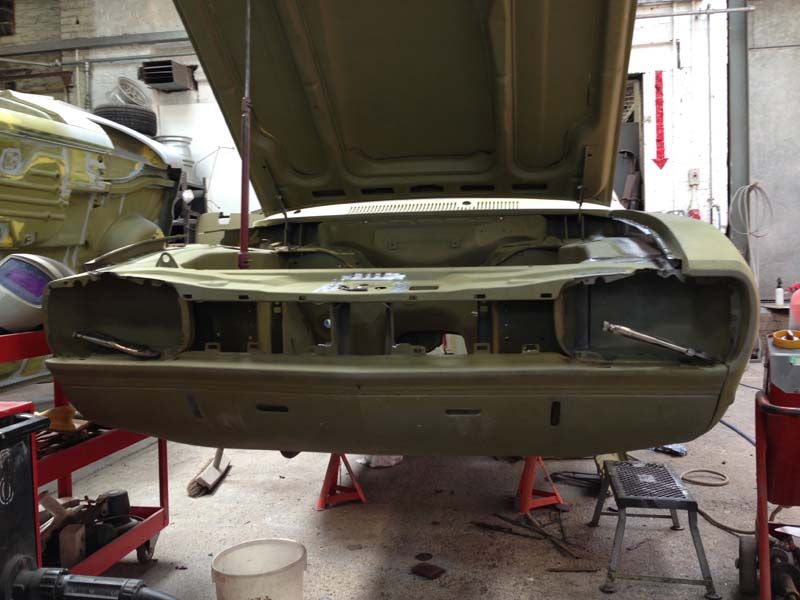 We have decided to go with a new inner wing on the drivers side. I bought one from ebay at a great price, but it was very surfacy, as you can see, so before getting it blasted, Stuart disassembled it so that all the components could be 100% blast cleaned. Top plate removed 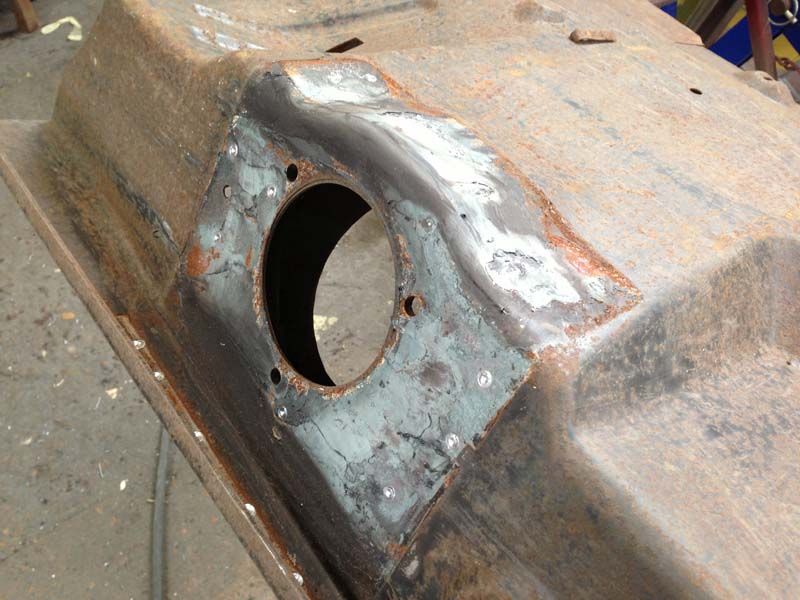 Gusset removed 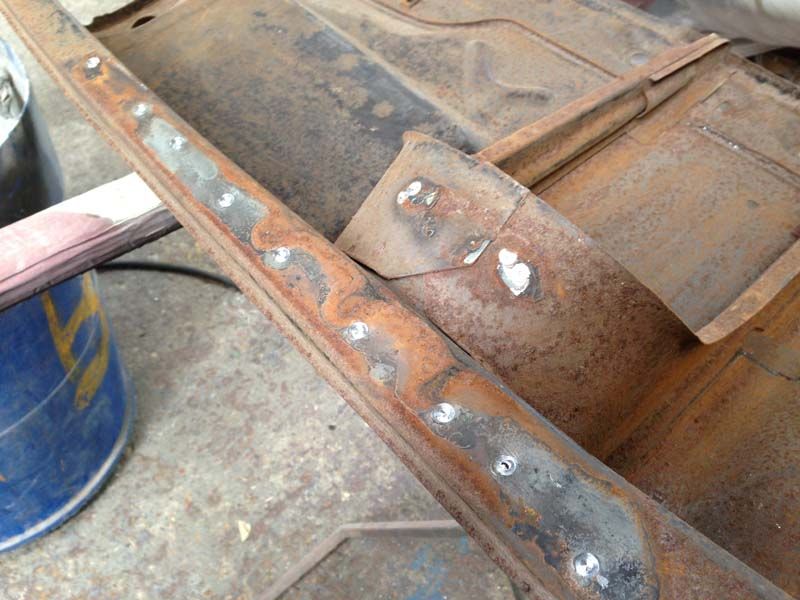 Top plate and gusset 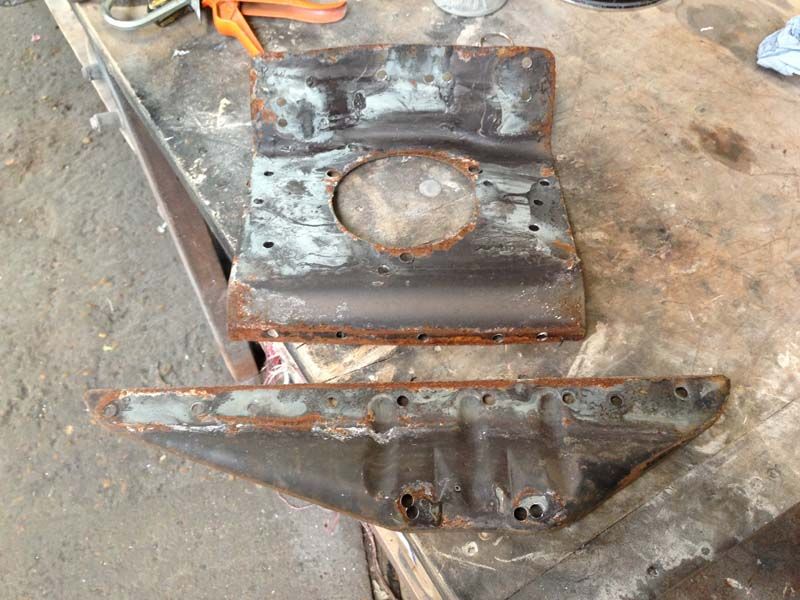 Lower reinforcement panel removed 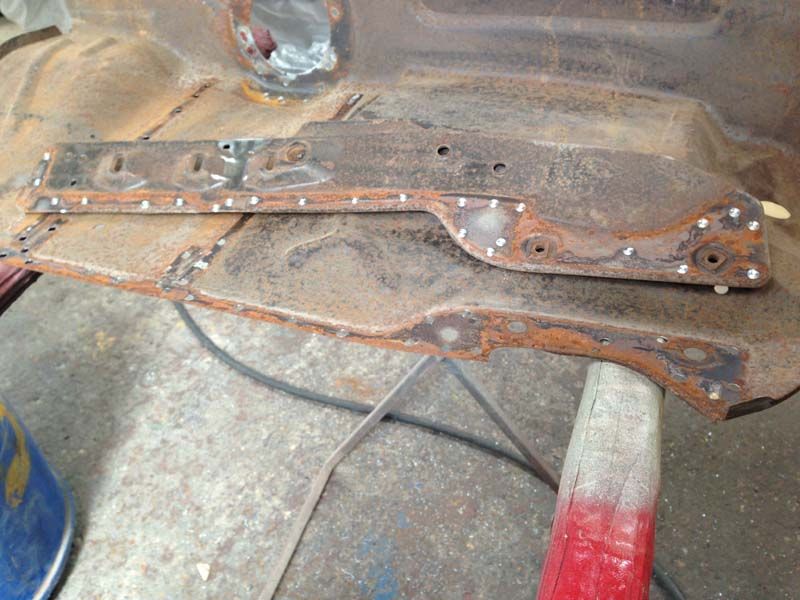 strut tower cup and gussets removed 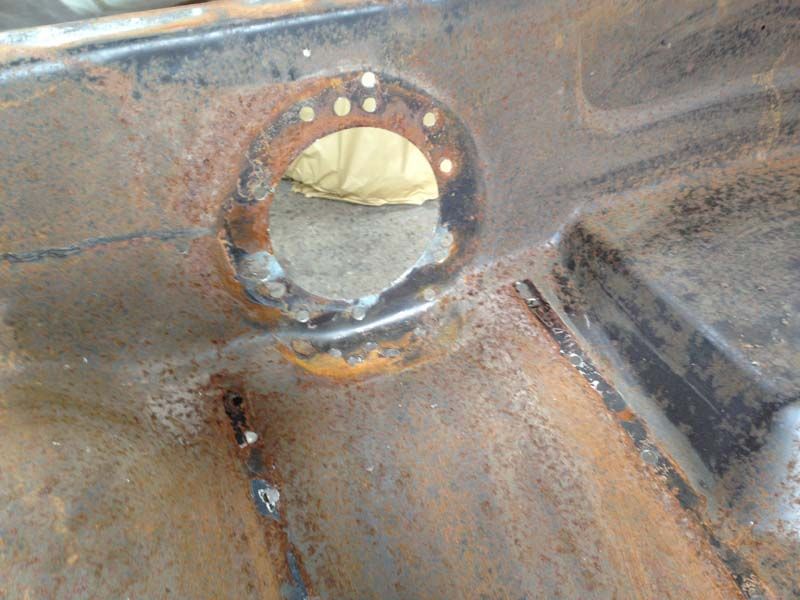 A lot of rust the blasting would not have got to... 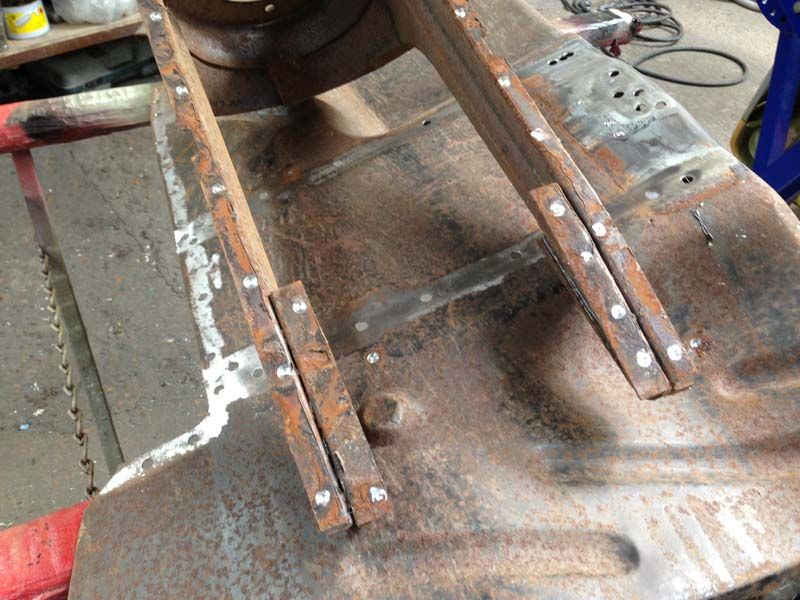 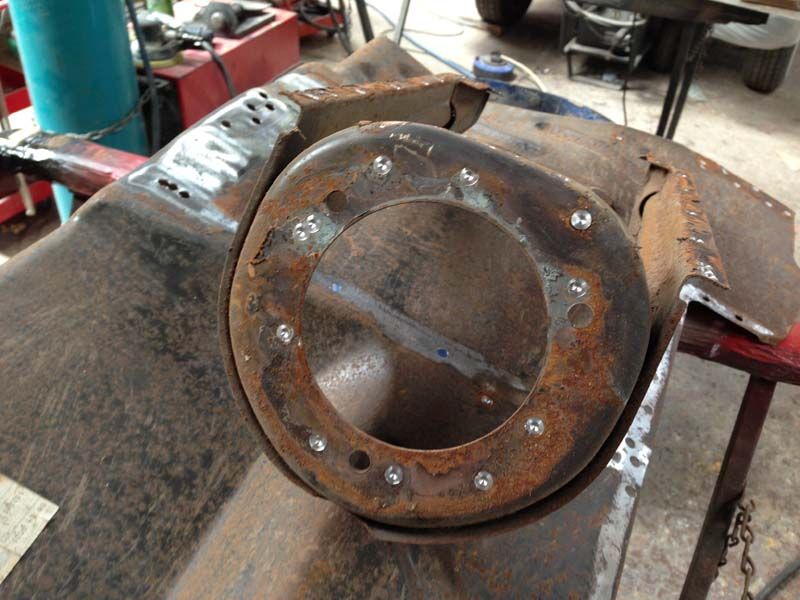 Strut tower cup/gussets constituent parts 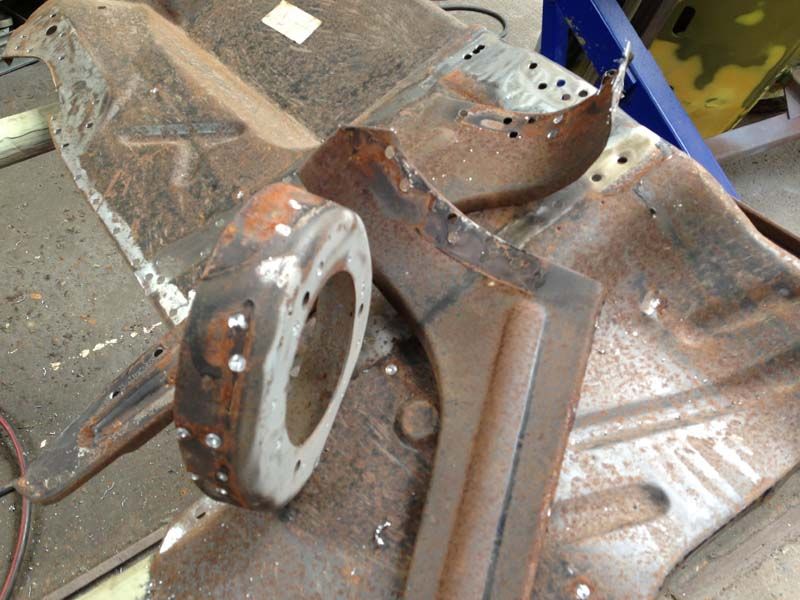 Here is the blasted top plate with new chassis number. It is actually complete, but I've photoshoped some digits out! 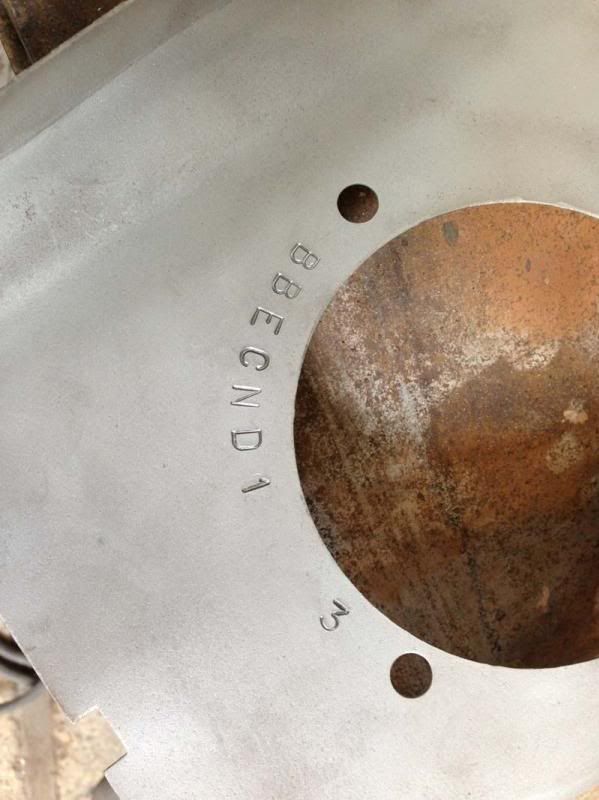 Stuart will soon be reassembling my inner wing kit and getting it all on the car, so more updates soon. |
|
|
|
Post by garethb on May 14, 2013 20:22:51 GMT
Looking impressive, I'll have to see when perhaps I can make another trip down to take a close look at your car.
What metalwork is left to be tackled before the paint starts to be applied?
|
|
|
|
Post by vernon240 on May 15, 2013 22:07:04 GMT
I'll post another update tomorrow. The inner wing is back together and the old inner wing is off. Still a few bits to do, rear arches, passenger side rear quarter to will, rear panel, repair the bonnet, front wings on, one door needs to be changed to facelift spec ( the area around the inner door lock release), but not too much I guess....could have missed something....oh roof brace, that's bring replaced by a good second hand one.
|
|
|
|
Post by vernon240 on May 16, 2013 8:20:22 GMT
More updates, the inner wing has been blasted and etch primed, so re assembly time! Inner wing all etched.. 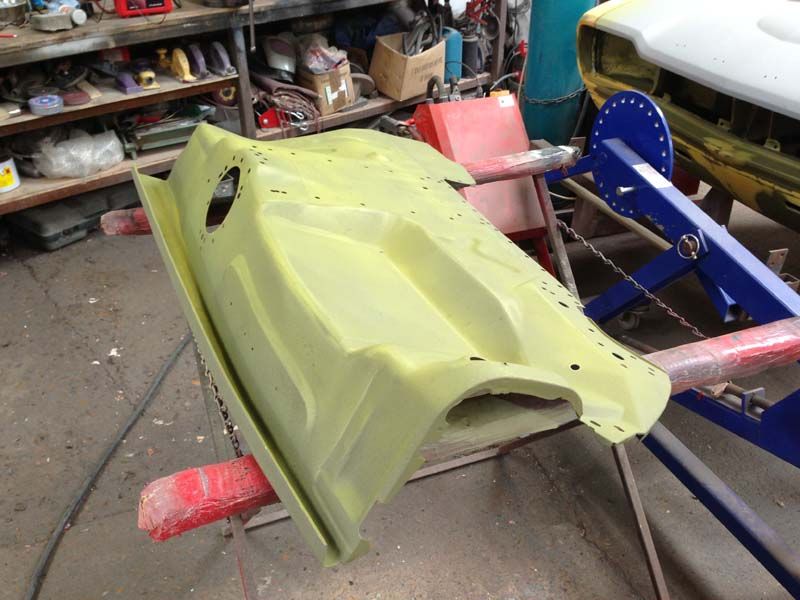 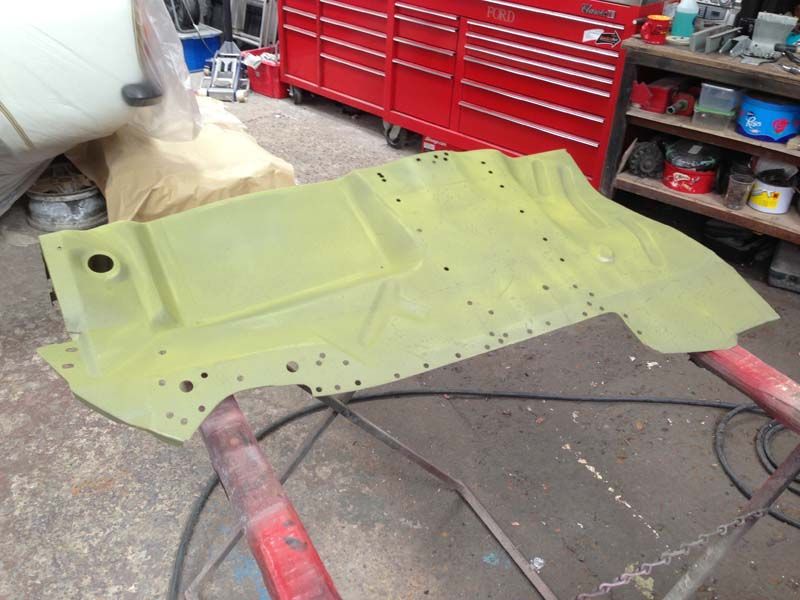 and the kit of parts that make up the inner wing 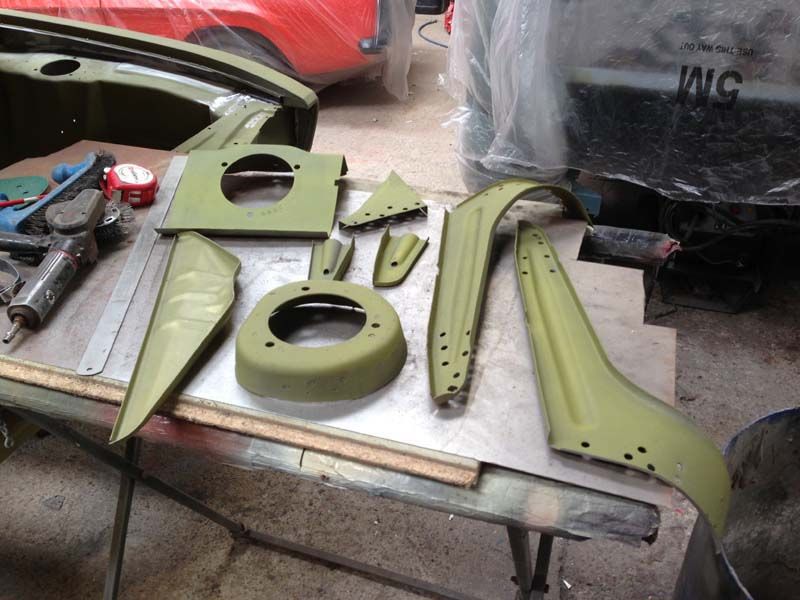 all welded back together 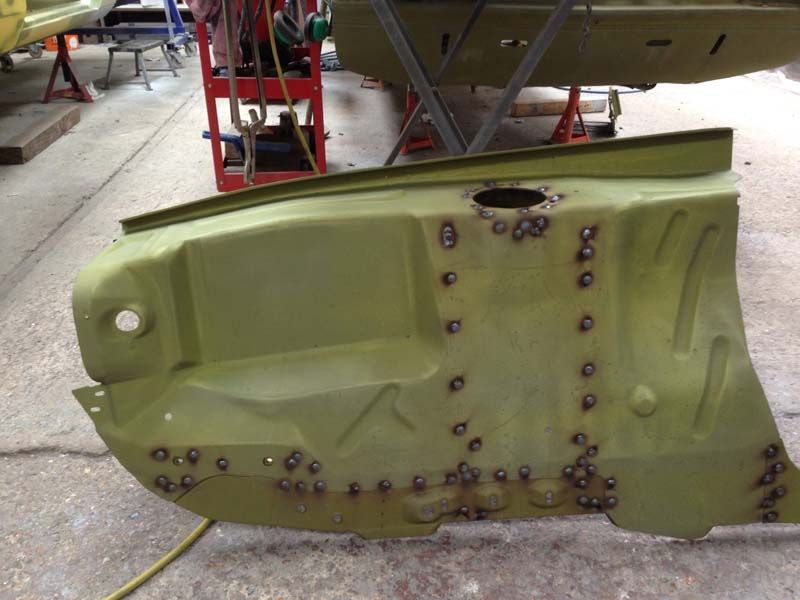 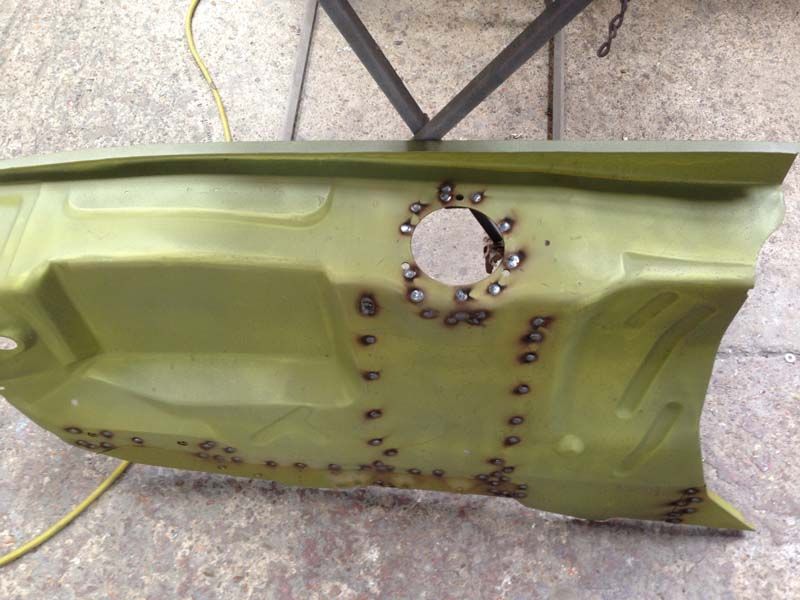 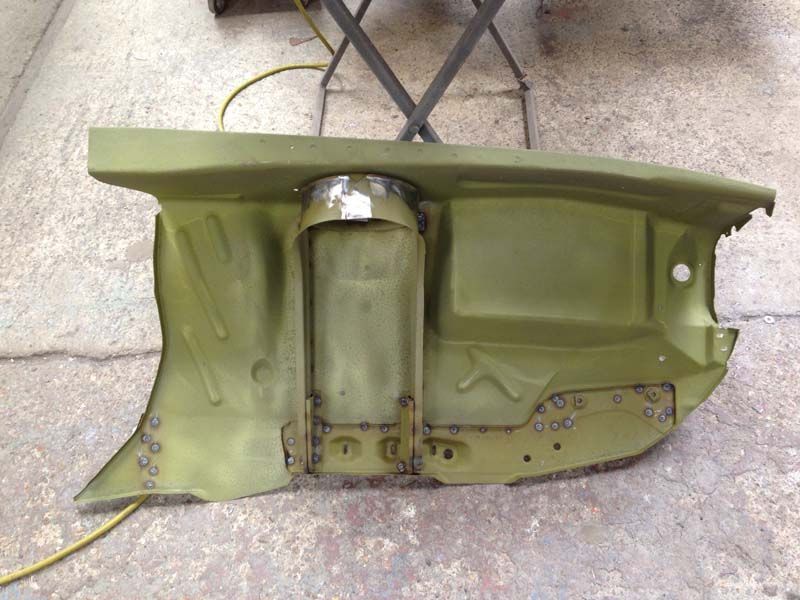 Top plate ready to be refitted... 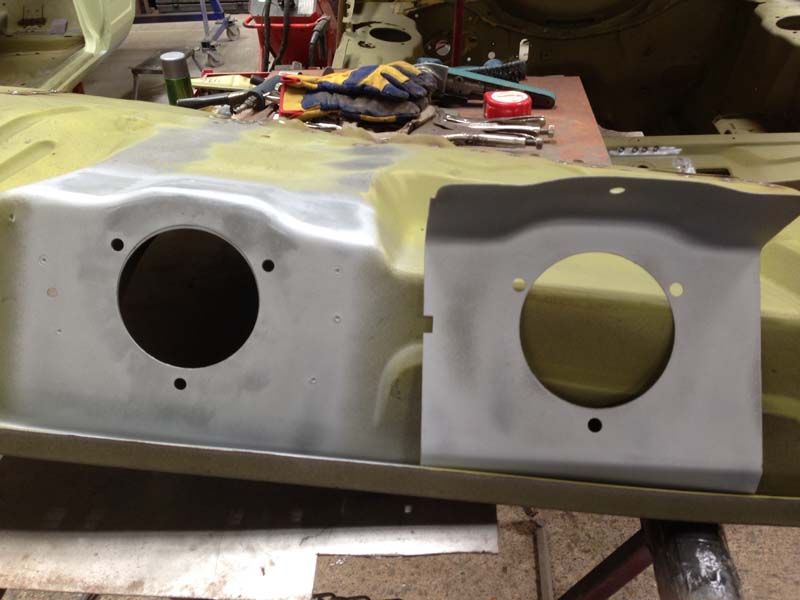 and it's back on. The way the panels line up is out of out control really, but left it as Ford left it! 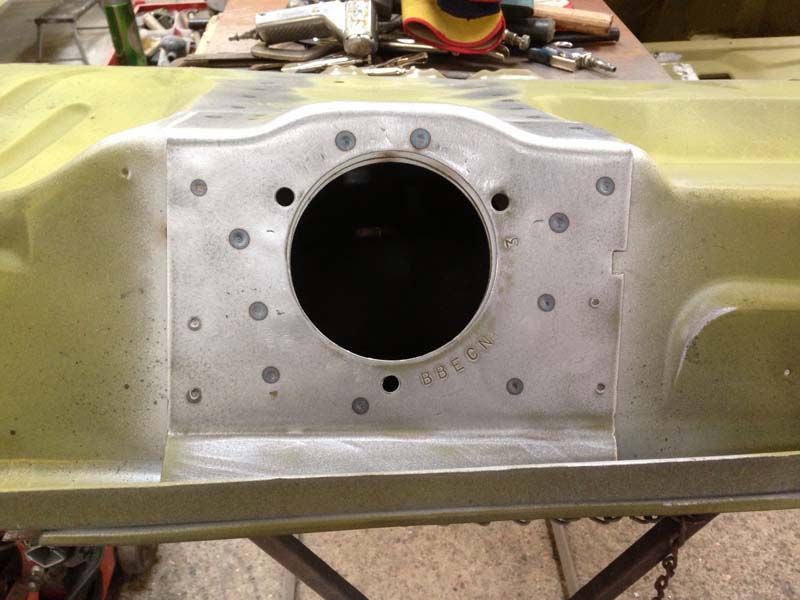 Fianally all done! Probably the best [protected inner wing out there, assembled with weld through primer and etched primed throughout.  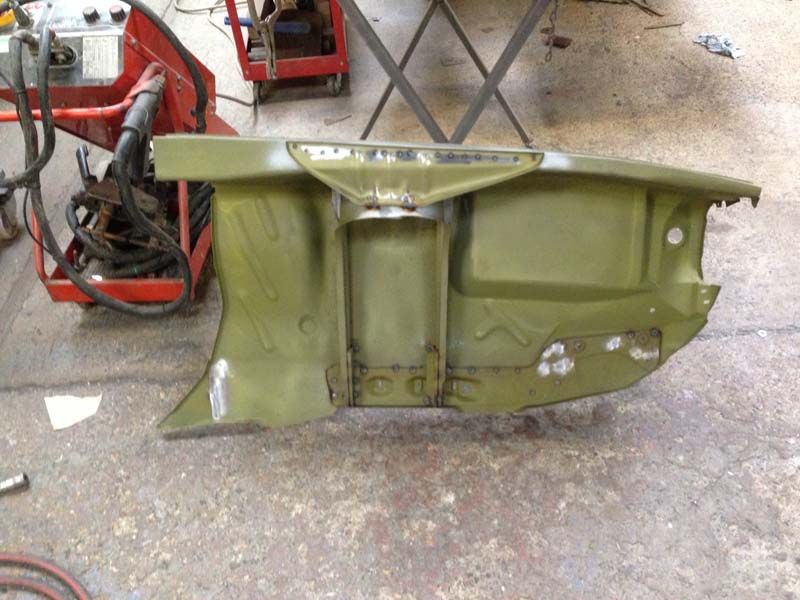 So now for the inner wing to come off.. 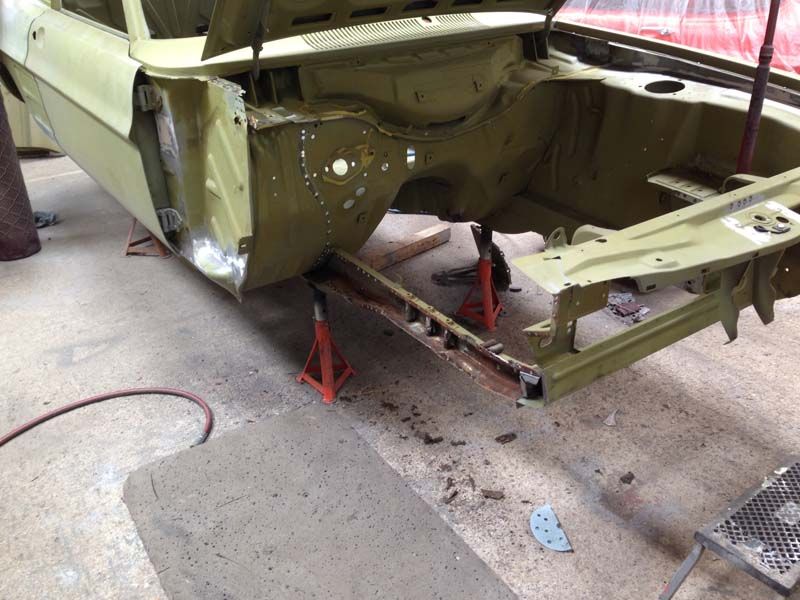 Certainly some rust in there... 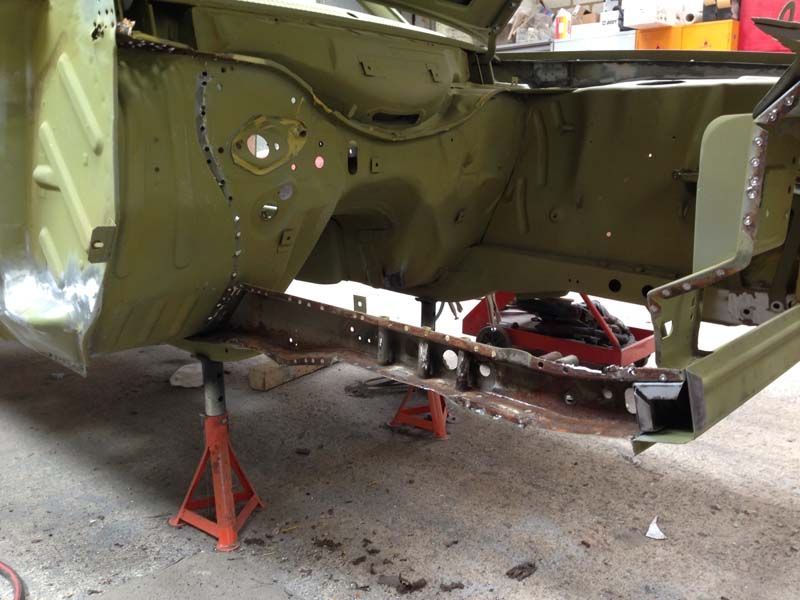 so cleaned up and primed 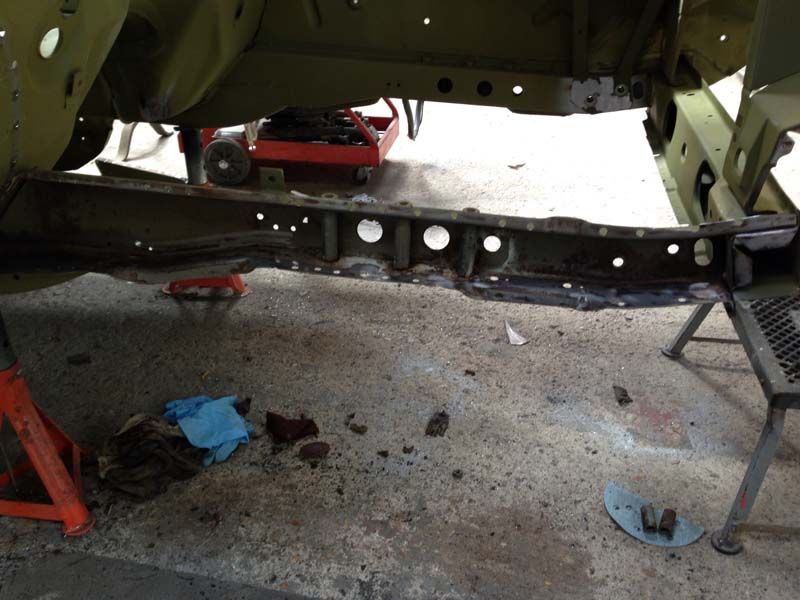 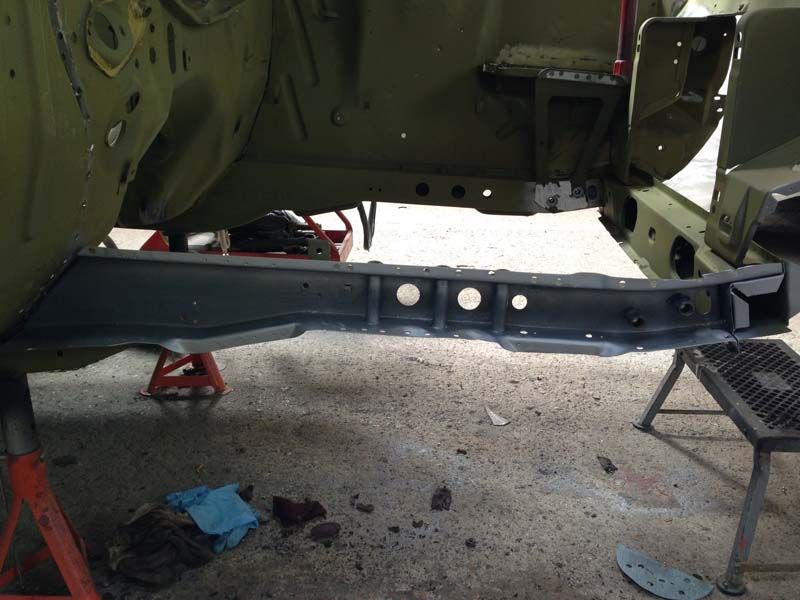 but before the inner wing goes on, this needs sorting out first! 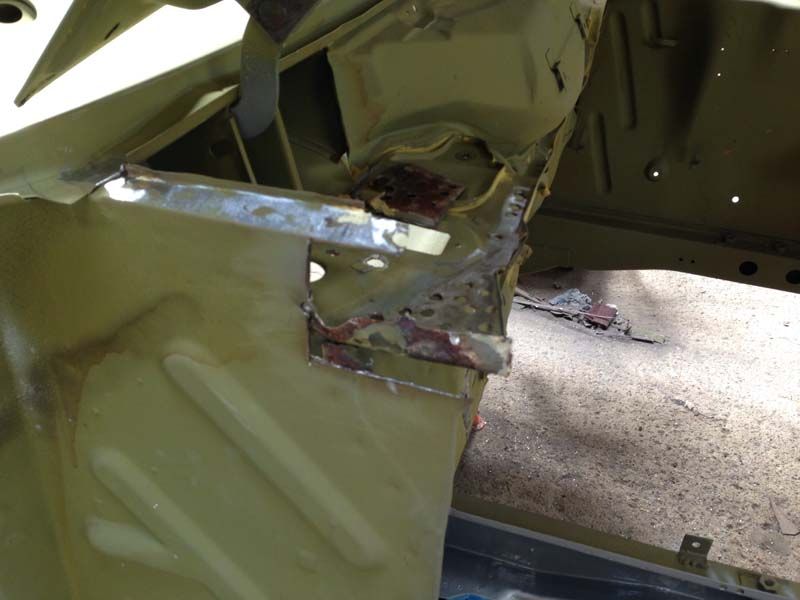 More as it happens! |
|
boz
Full Member
  
Posts: 173
|
Post by boz on May 16, 2013 10:02:11 GMT
Nice Vernon, I was down there the other day distracting Stuart while he was deconstructing the panel. It is gonna be far better that a factory car when its done. How are you getting on with the engine, running gear etc?
Still waiting on the stripes for mine, they were ordered back in March but still have not turned up!
Anyone off to Beauieu Autojumble this weekend?
|
|
|
|
Post by vernon240 on May 16, 2013 14:48:15 GMT
|
|