|
|
Post by garethb on Mar 7, 2013 20:25:10 GMT
A couple of times last year I found myself driving the RS3100 at night and the only way I could tell what speed I was doing was by looking at the SatNav on my mobile! So the decision was made that I would do something about the lights. All the pictures below are using exactly the same camera settings ISO3200 and a 0.5second exposure but the positioning of the camera changes slightly as I had to move it out of the way to change the bulbs. Standard Dash Lights 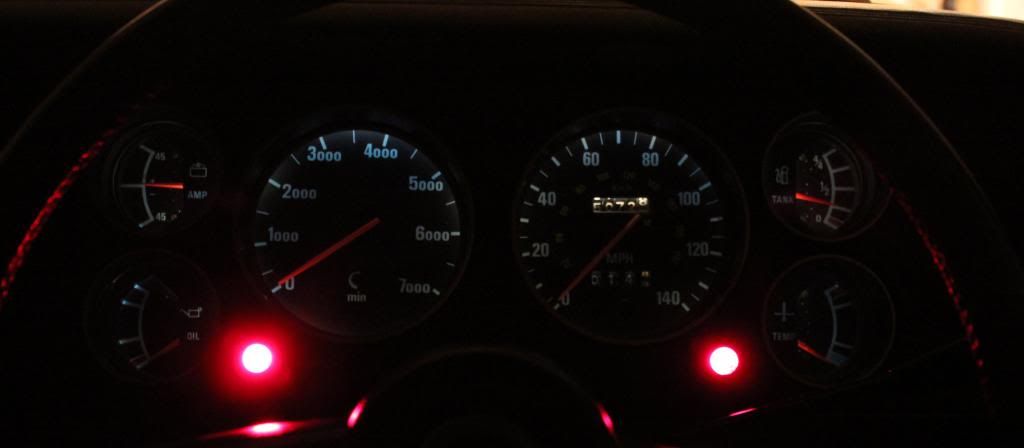 Half & Half 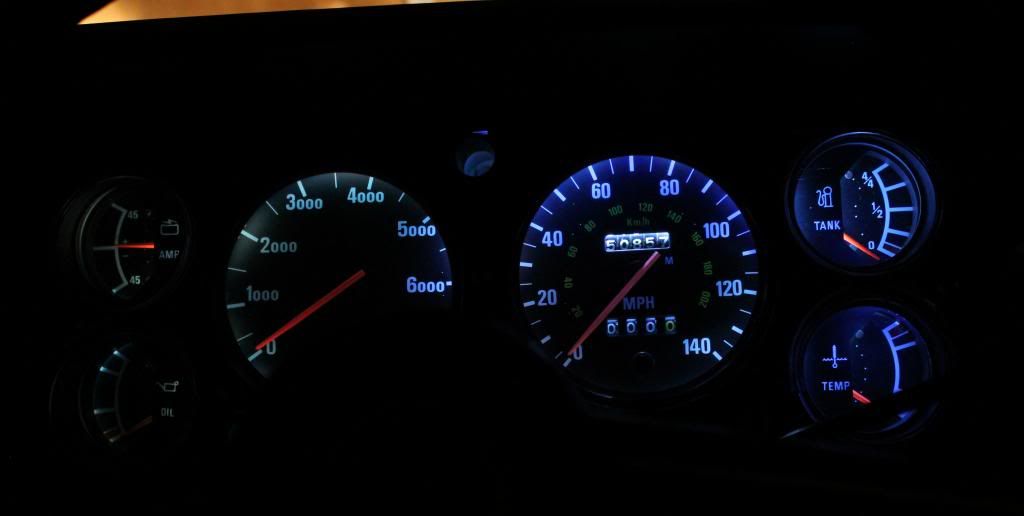 Full LED Conversion 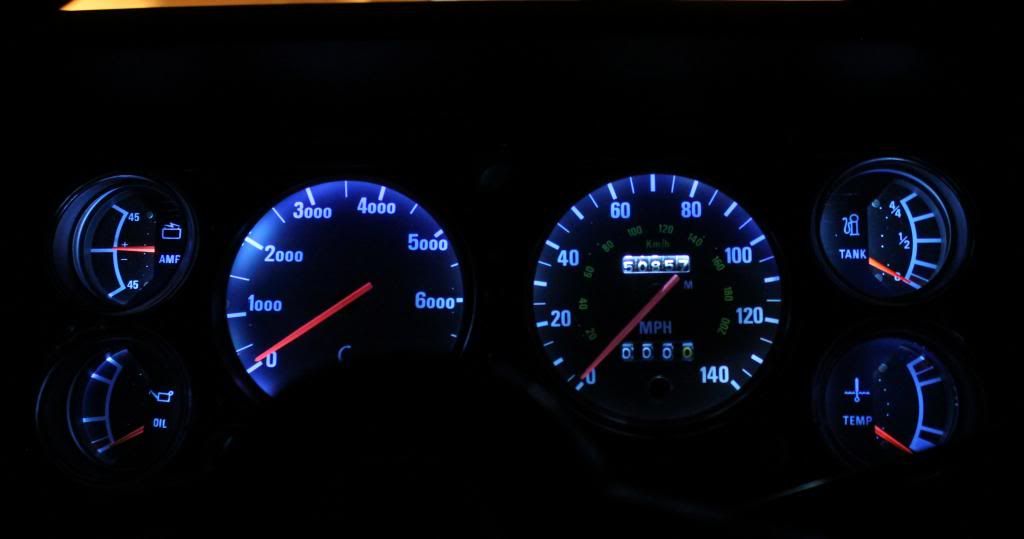 I used these LED's because fo their wide angle nature and have a 5 Watt equivelant output compared to the standard 2.2 Watt but the LED's draws about 1/3 the current of a standard bulb so the current draw is less and the bulbs don't generate heat which would have been the case if I had used a standard 5 Watt bulb in the dash.  The warning lights will remain unchanged except for the fact they are new standard spec bulbs as these are bright enough, but I think I will change the clock and the heater control illumination to LED and if possible the radio too. |
|
|
|
Post by johnmc67 on Mar 8, 2013 9:01:52 GMT
hi gareth ,what an improvement ! do they fit into dash with out modification ? and where did you purchase bulbs mate ? best regards john
|
|
|
|
Post by garethb on Mar 8, 2013 9:28:37 GMT
No mods required although they were a little tight! They fit fine where the copper of the circuit goes in to the hole, but the top and bottom are tight, so perhaps file a very small amount of the instruments or the bulb itself. LED's only work one way round and there is nothing on the bulb to say which way but just a case of rotate 180 degrees. I got them from Amazon and only took a few days compared to the delivery date quoted, £5.98 for two twin packs including delivery. as they were cheaper than the first place suggested to me. Ultra LEDS's were recomended to me and from their description the correct size, I went for Amazon because they were cheaper and looked the same when in fact the Amazon ones are 5mm longer than standard. I don't know if Ultra LED's are any different, but they are twice the price. |
|
|
|
Post by aussiecapri on Mar 8, 2013 12:28:10 GMT
LEDs look good, but i wouldn't drive it with no oil pressure  |
|
|
|
Post by vernon240 on Mar 8, 2013 18:27:05 GMT
It's OK Owen. He had no fuel anyway! :-)
|
|
|
|
Post by garethb on Mar 24, 2013 20:30:48 GMT
Now done the clock, cigarette lighter because it takes the same bulb as the clock and came in a pack of 10 LEDS, the heater controls and the heated rear window switch and the difference I am quite impressed with. It wasn't until I took pictures of the lights a while back that I discovered that the heater controls were illuminated as it took a 2.5 second exposure on the camera so here are some like for like comparisons before and after. Plus to compare with the clocks earlier posted, I have done them at 0.5 second exposure. Old bulb in the heater; 2.5 second exposure 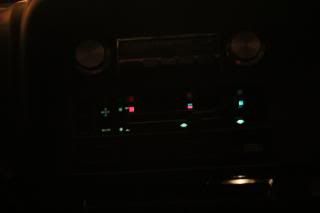 LED bulb in heater; 2.5 second exposure 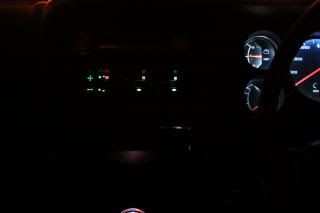 LED bulb in heater; 0.5 second exposure 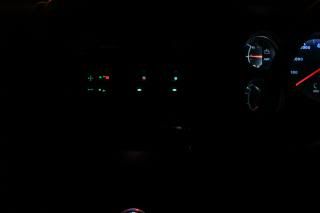 Old bulb in clock; 2.5 second exposure 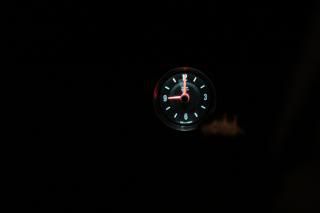 LED bulb in Clock; 2.5 second exposure 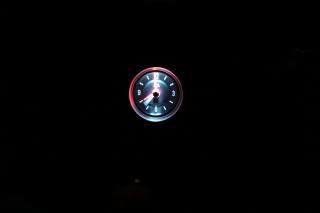 LED bulb in Clock; 0.5 second exposure 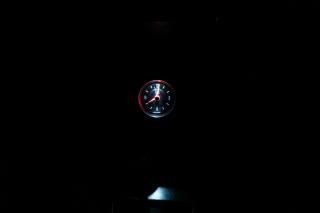 Instruments at 2.5 Second exposure 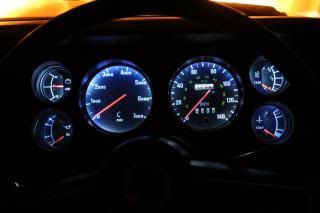 Instruments at 0.5 second exposure 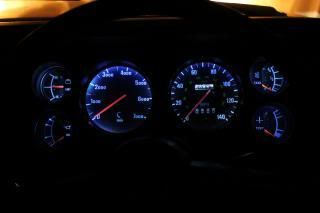 I'm going to write a full article for the RSOC Club Magazine and where I got the bulbs from, why I went for the bulbs I did and the issues encountered, such as the interior light. A standard LED bulb doesn't work as the polarity is wrong the way Ford wired up the interior light, but i have found a place that does a unit that should work, so hopefully I can that will be delivered by the Easter Bunny! |
|
|
|
Post by garethb on Mar 27, 2013 17:18:54 GMT
Interior light arrived and I am pleased with the results. The LED comes with an adhesive foam backing to make mounting easier, but on the Capri interior light this would mean sticking it to a bar that comes from left to right that holds the bulb in place. So rather than mount the LED's on this so half the light as with the old bulb illuminates the roof cavity the holder pushes in to, I decided to make a small bracket that wedges bewteen the windscreen edge of the holder and the bar that holds the bulb. This means that the LED is mounted horizontaly and all the light is directed out of the interior light and none back up in to the roof cavity, which may account as well why the interior is so well illuminated! 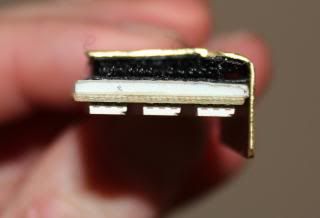 I made a small cut out and used velcro to mount the LED to the bracket because it means should I have to change the LED's or revert back to the old set-up, it is easier to dismantle and replace. Combined with the cut out it also means the bulb end connecting to the electrics is clear of the LED's. 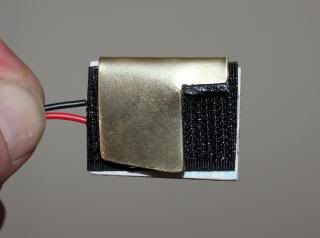 This before shot looks like the interior light illuminates the car well, but that is due to the 0.5 second exposure but really you can't see too much mainly due to the creamy light produced. 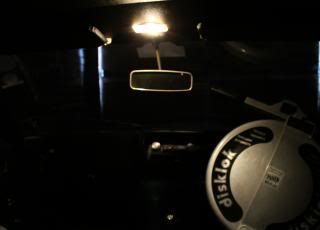 The end result I like with the bright white light but this is with a 0.25 second exposure and is I feel a nice brightness in the car and I am pleased it isn't overpowering. 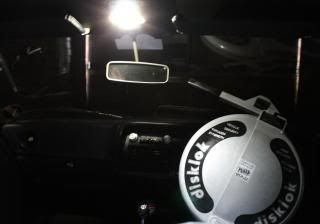 In this case with respect to safety on the rare occasions the car is driven at night I think this is an acceptable modification and the only giveaway something has been done by the mere fact the light is a purer white rather than a creamy yellow glow. |
|


